Managing customer groups in WebShop
Purpose and scope
A customer group is a list of customers who have a web account on WebShop that are linked via a group name. Within WebShop, you can manage tasks by customer group. Tasks that can be managed using customer group include:
Add customer group(s) to your product lists so that you can manage your product lists more efficiently
Restrict pages in your WebShop so that they can only be viewed by specified customer groups
This article explains how to create and delete customer groups and to add a customer to an existing group.
Introducing terms and concepts used in this article
Term | Definition |
|---|---|
Customer group | a list of customers who have a web account on WebShop that are linked via a group name. |
Web account | a WebShop account that provides you with WebShop functionality, such as viewing online order history, saving carts for future use or save delivery and billing addresses, which is not synchronized with your ERP. |
Tasks
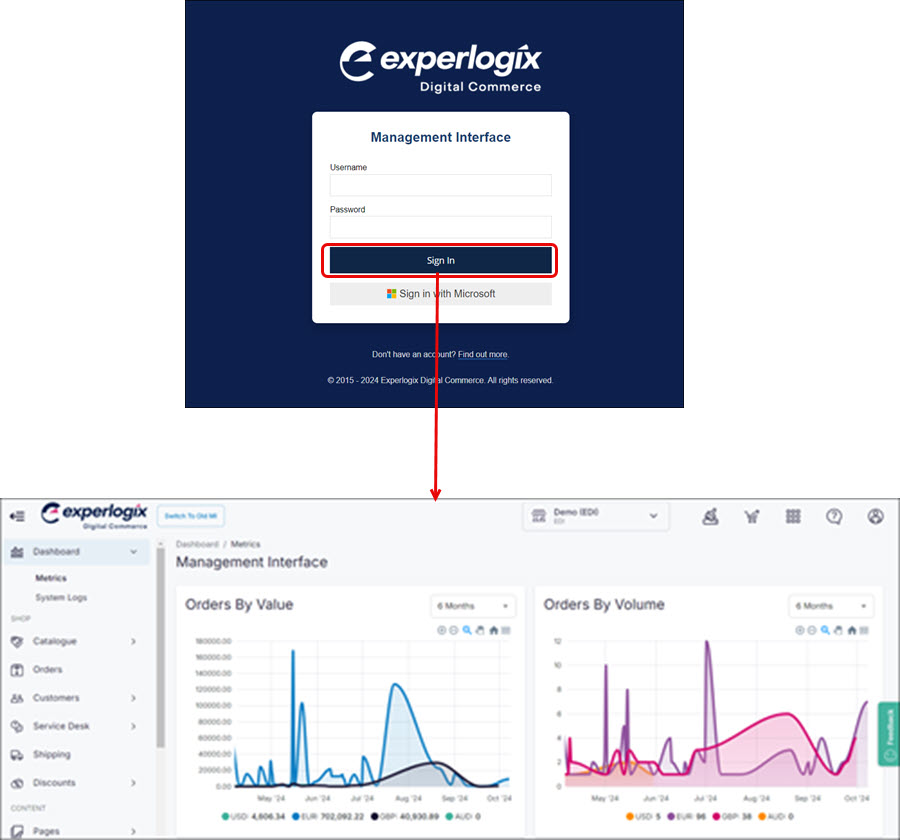
Step 1: Log into Management Interface
Log into Management Interface using your username and password. This opens the dashboard of your Management Interface.
Step 2: Open Customer Groups
Click Customers on the left hand menu. By default, a list of your Web Customers are displayed in the main content body.
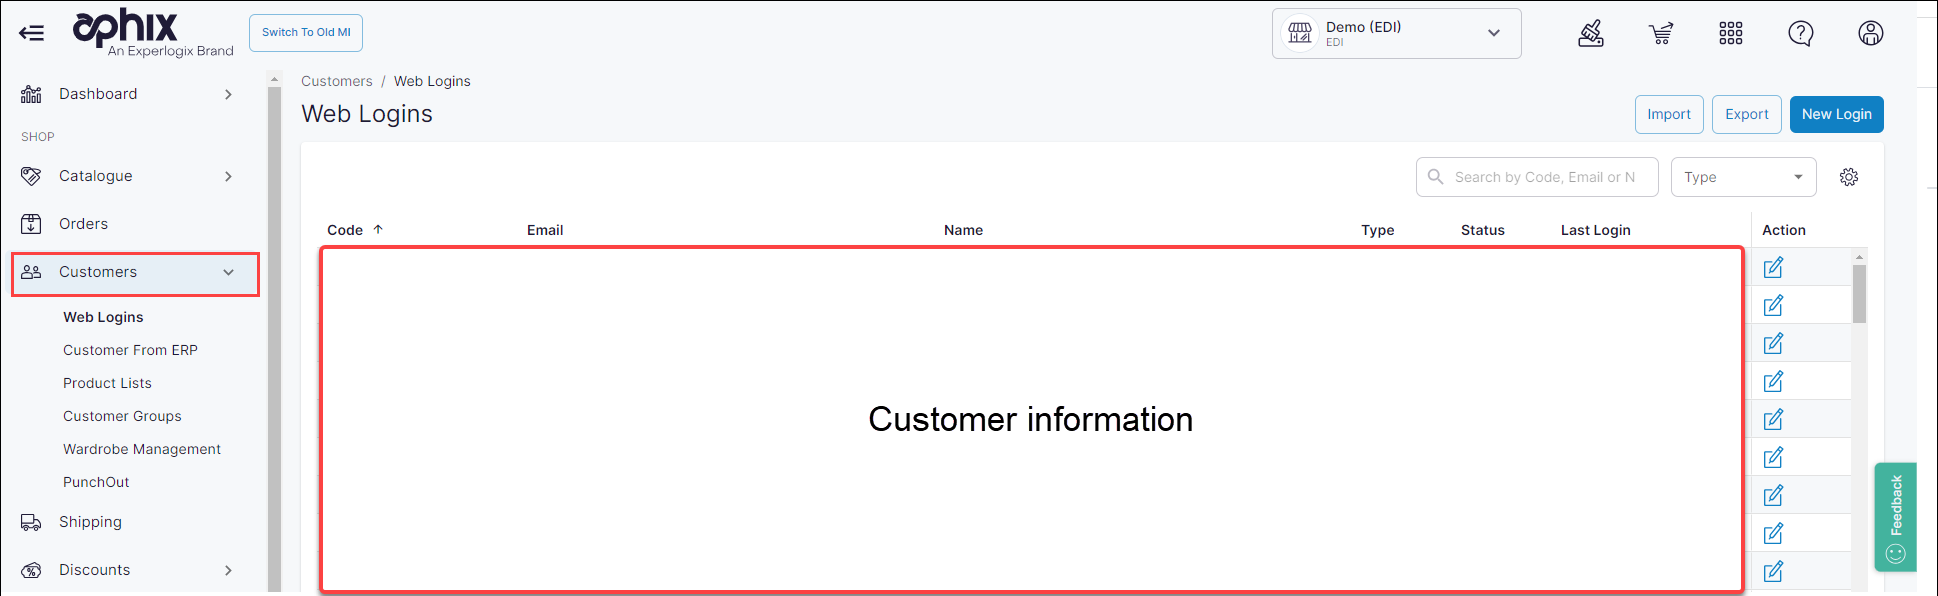
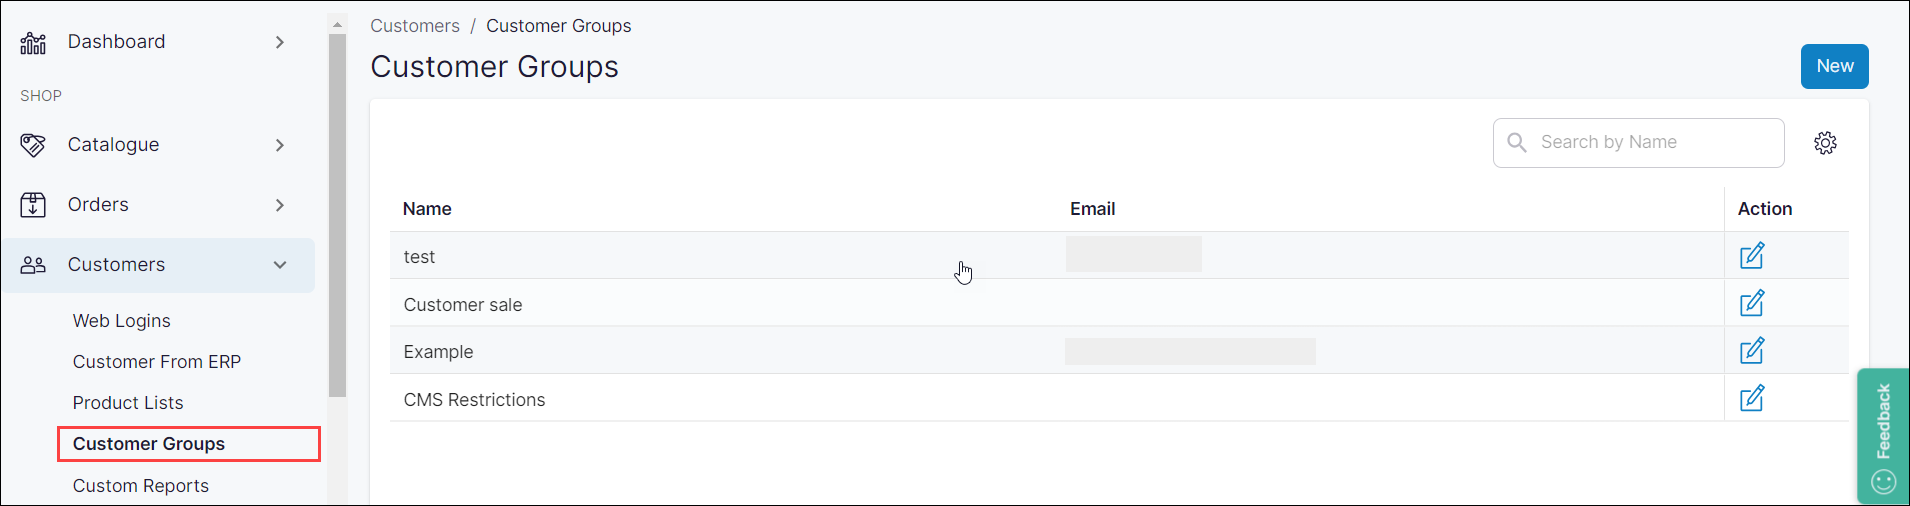
Click Customer Groups. This opens the Customer Groups listing screen.
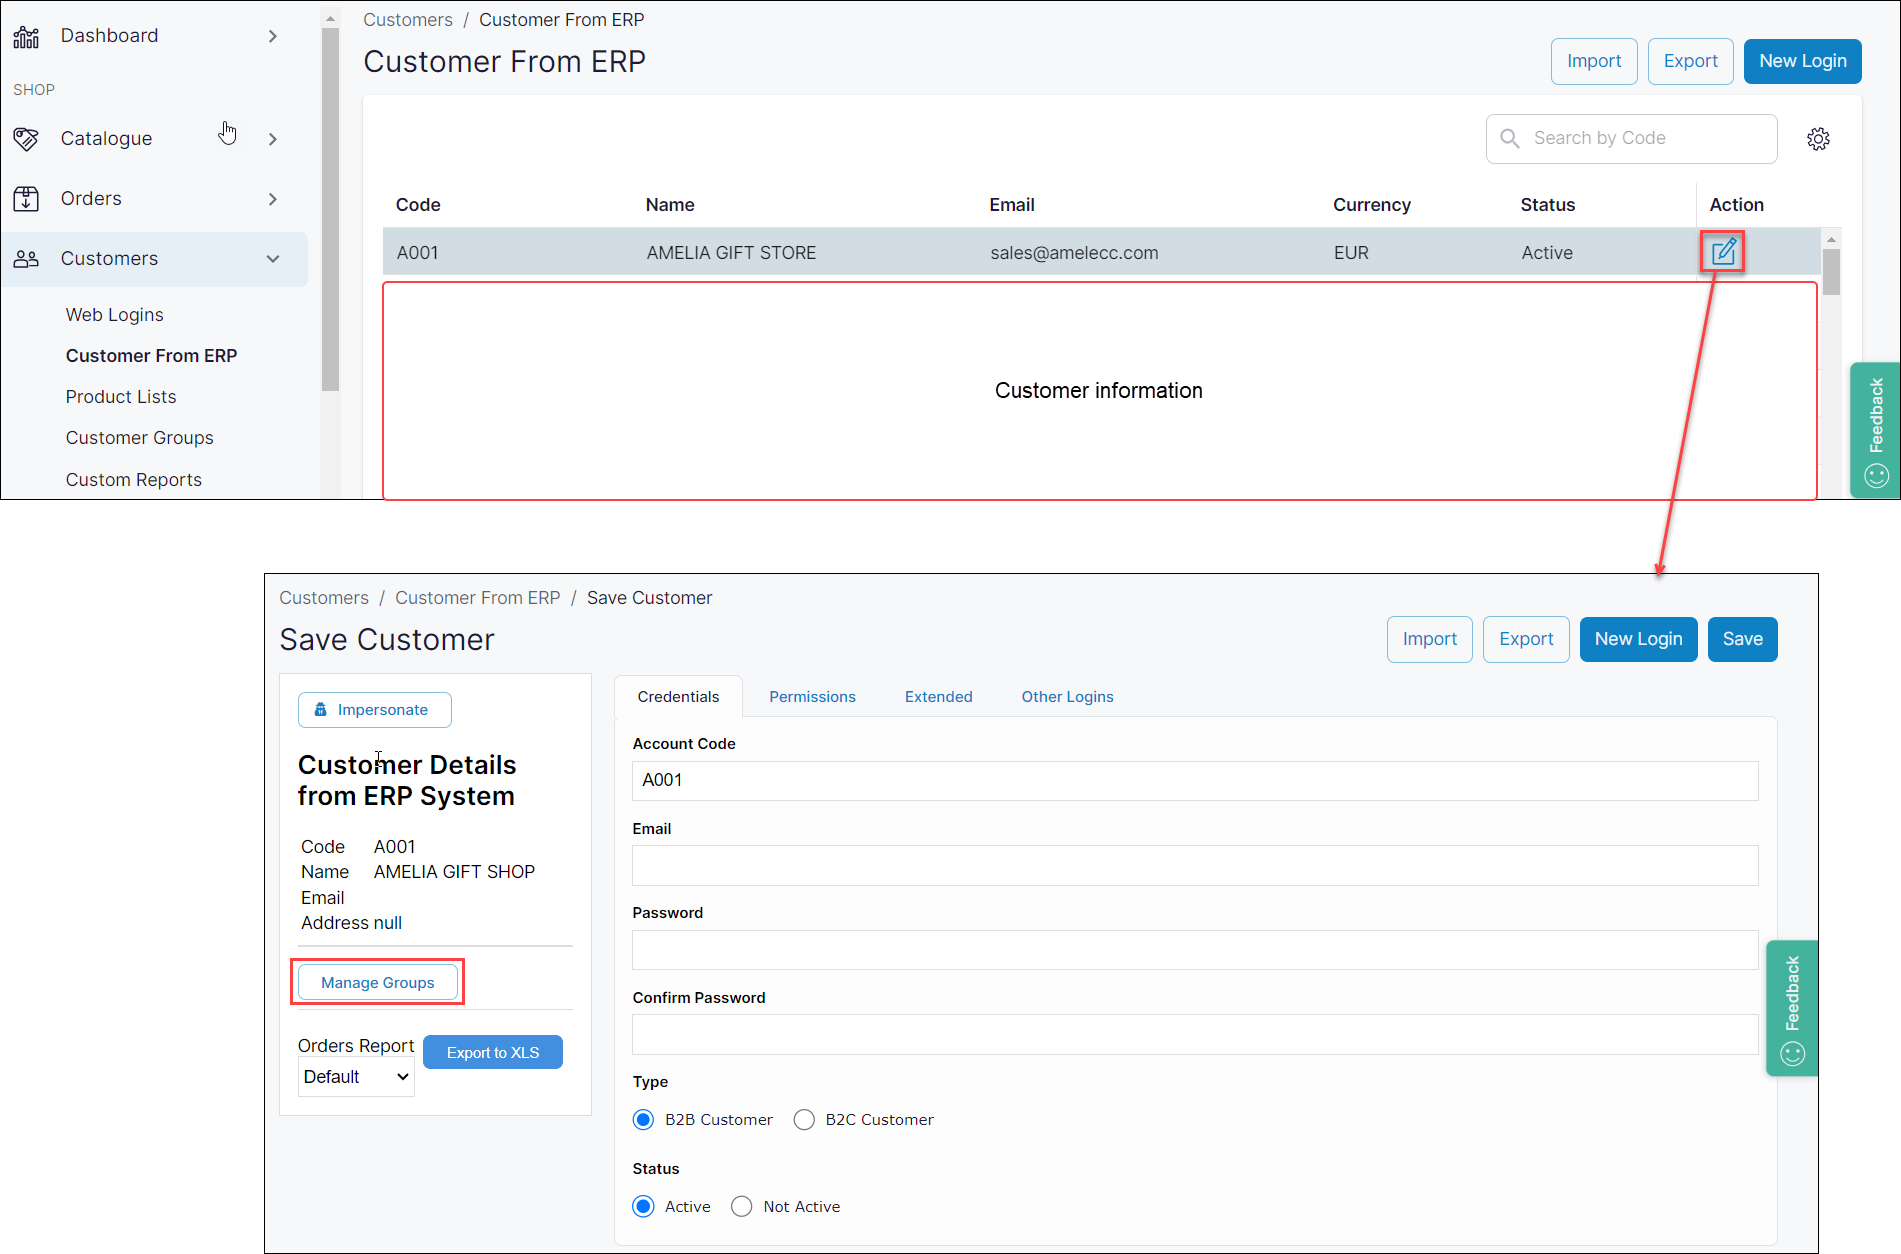
Alternatively, click the edit icon to the right of a customer, then click Manage Groups on the Customer details screen. This opens the Customer Groups listing screen.
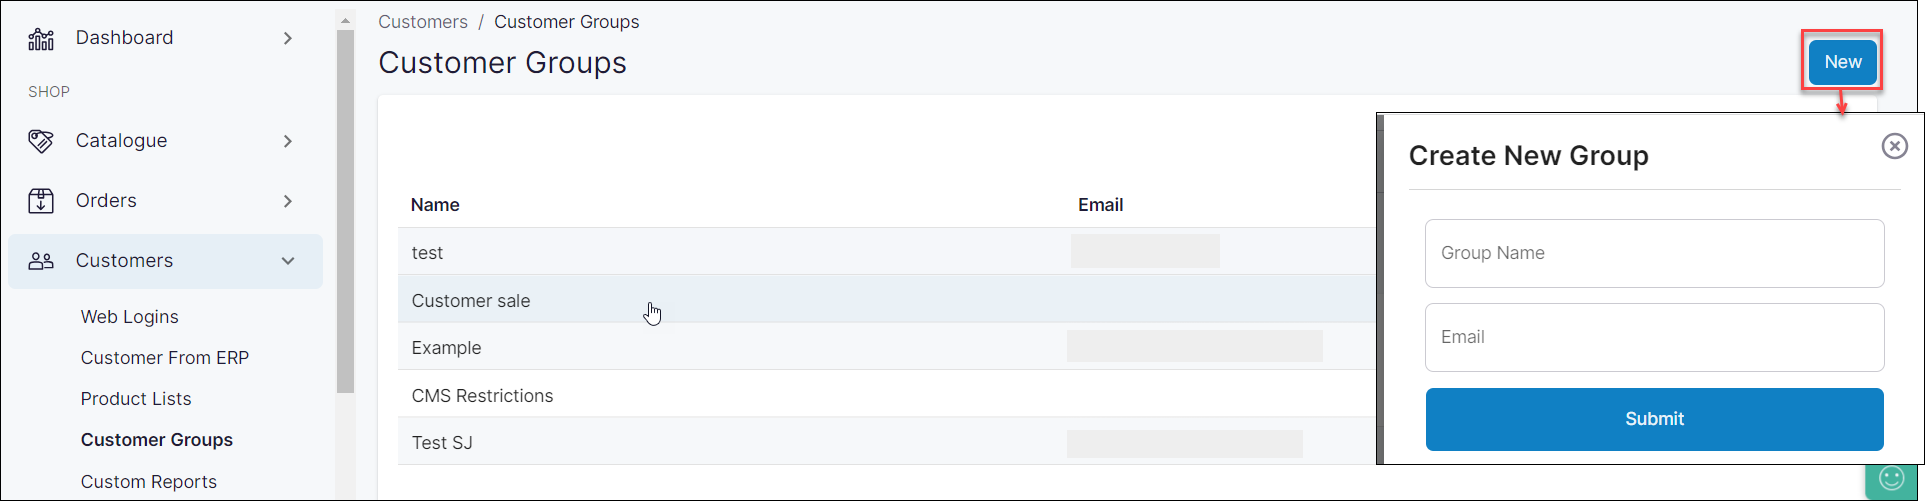
Action 1: Create a customer group
Click New on the top right of the Customer Groups listing screen. This opens a screen to the right of the screen where you can specify the name and associated email of the new Customer Group.
Complete the form and click Submit. This creates the Customer Group and opens the Edit screen where you can manage the group.
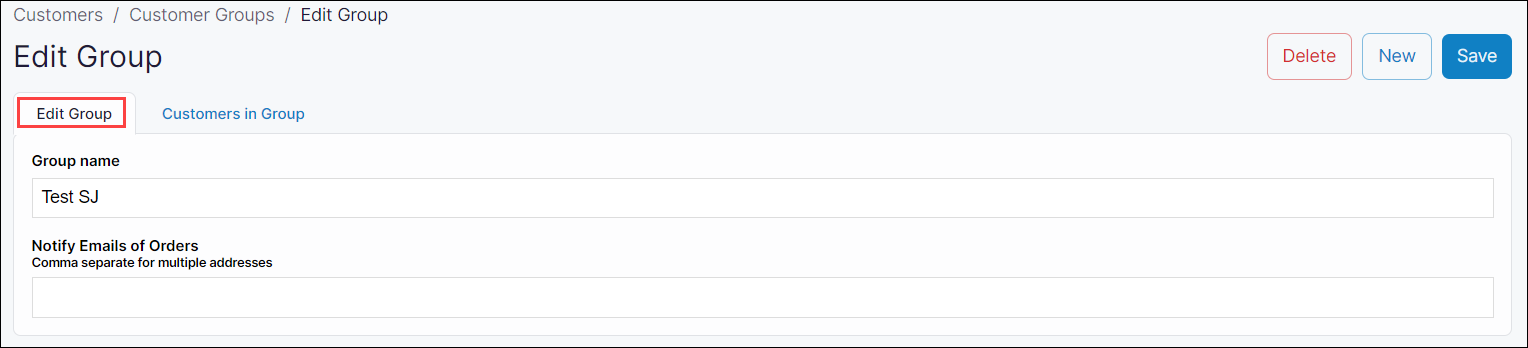
Action 2: Manage Customer Groups
The following actions are available on the Edit Customer Group screen:
Edit group
Edit group details. Two fields can be modified:
Group name, contains the name of the customer group
Notify Emails of Orders, contains a comma-separated list of email addresses who are notified when an order is placed. Email addresses on this list do not need to have a WebShop account.
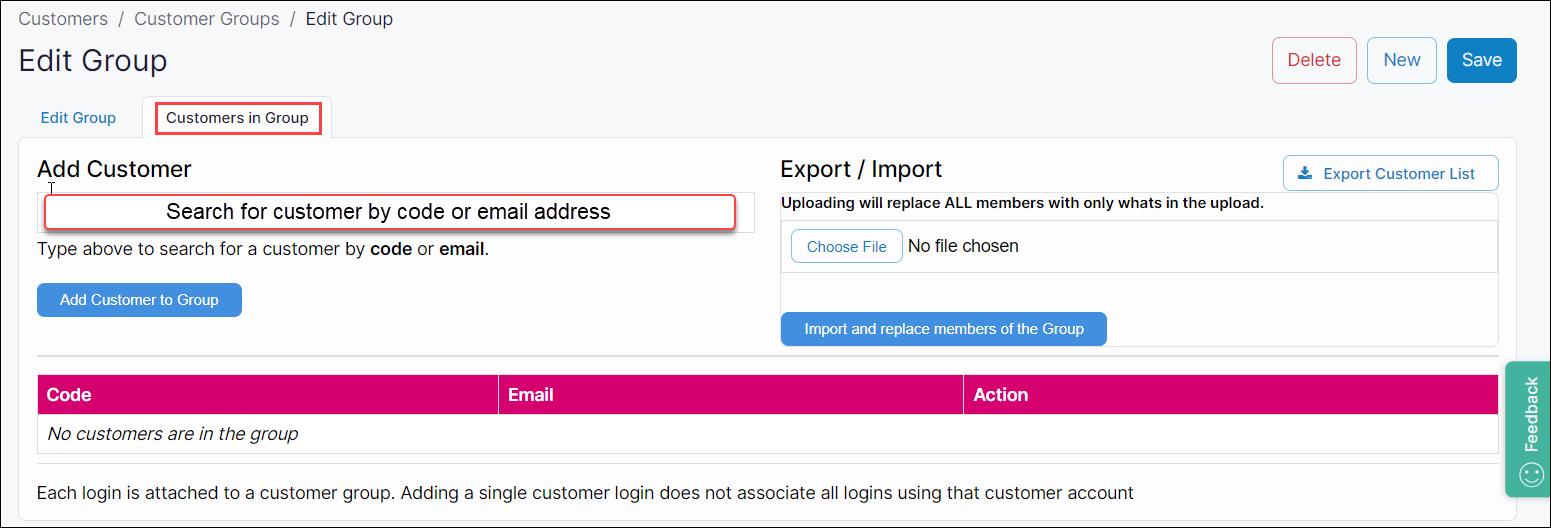
Add customers to group
Customers must be a Web Customer before they can be added to a customer group.
Add a single customer to a customer group
Search for your customer by code or email address.
Click Add Customer to Group. This adds the customer to the group.
Add multiple customers to a customer group
Create a spreadsheet with two columns: “Customer code“ and “Customer email address“.
Click Choose File and upload the file.
Click “Import and replace members of the Group“. This overwrites the existing customer’s group with the contents of your new spreadsheet.
Click Save when you have filled in the fields in both tabs. This saves your customer group. It can be used by other features now, such as How do I restrict WebShop pages to a particular set of customers.
Delete a customer group
Click Delete in the top right of the screen.