Skip table of contents

How do I import product images?

Purpose and scope

Each product in your product catalogue can have up to 4 images associated with it. The first image is the image displayed on the product listing screen. All images can be viewed on the detailed product screen.

Using our bulk upload of images feature means you can upload and attach multiple images to products or product options in one easy step.

The purpose of this article is to provide a step by step guide on how to do this.

Key points

We recommend that you read Understanding product administration in WebShop to understand how the import / export spreadsheet feature operates and Importing product information and images for more information on this feature before following the steps outlined in this guide.

Step by step

Assumptions

  • You have logged into Management Interface.

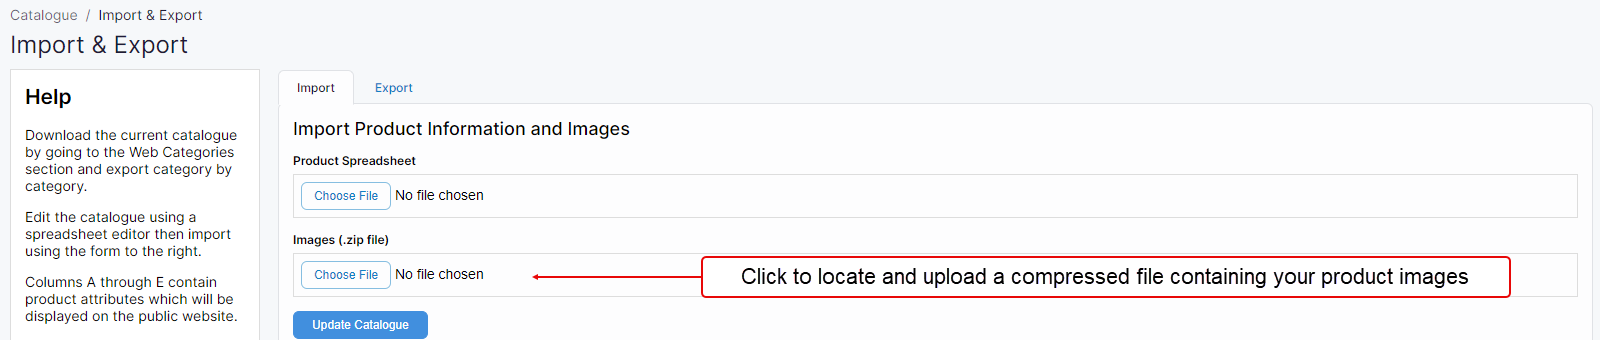
  • You have opened the Import & Export screen on the Import tab

Step 1: Create zip file of images

Create
  • Create the images you wish to upload, and name them appropriately so that they can be attached to the associated product or product option when uploaded.

Naming convention for images

  • Each image file must be named as follows: productCode.imageNumber.png. Example: AW01.3.png

  • If only one image is associated with the product, you can omit the image number. Example: AW05.png

  • If a product code contains a period or full stop “.”, and you want to upload multiple images for that product, append @imageNumber. Example: AW.23@2.png

  • If a product code contains a dash “/”, and you want to upload multiple images for that product, replace the “/” with “$$”. Example: AW/23.png changes to AW$$23.png

  • The following special characters can not be contained in product codes: ' “ & # < > ( )

  • Each image file must be a .png file.

  • We recommend that you consider the direction and orientation of each image so that they are displayed well in WebShop. We suggest that a reasonable image size is 400 x 300 pixels, which will be rendered correctly depending on whether it is displayed on a laptop, tablet or phone screen.

  • Compress all the images into a ZIP (*.zip) file.

Step 2: Import image zip file

Import
  • When the spreadsheet is ready for import, return to the Import & Export screen in Management Interface.

  • Click Choose File under and select the spreadsheet from your file directory.

  • Click Update Catalogue. This updates the data in your catalogue as specified in the spreadsheets.

An error message is returned if the named image in the compressed file does not match the target product code (SKU). The error message lists which images have not been matched so you can check, update and re-import the file following changes.

Error messages are not returned based on the product’s status; it does not check if the product’s status is Visible or Invisible.

ProductImport-MI-Images.png

Remember that changes are immediately visible in WebShop

Step 4: Verify changes

What do my customers see in WebShop?

Your customers can see any changes you have made to product images once you have imported the compressed image file.

To verify that the product data has bene imported correctly, view the detailed product screen of the product(s) in WebShop you have changed, and check that the changes you have made are displayed correctly.

Related content

JavaScript errors detected

Please note, these errors can depend on your browser setup.

If this problem persists, please contact our support.