Managing files in Management Interface
Purpose and scope
Do you have additional images that you want to share with your customers? Are you a B2C merchant, and do you need to regularly and automatically update your products and pricing? The Global Asset Manager, located under Content in Management Interface, is the file manager used to store the files, such as product specifications, product images and so on, that are displayed in your WebShop. This article describes what this feature is used for, and how to access it within Management Interface.
Benefits
Key benefits are:
Easy to use interface to manage standard file and folder operations, such as rename, copy, move and so on.
Provides a location to store pricing and product data safely and securely
Introducing terms and concepts used in this article
Term | Definition |
|---|---|
Cloud computing | information technology model that offers services over the Internet. |
File Transfer Protocol | (FTP), is a standard communication protocol that is used to transfer files between computers. |
Global Asset Manager | (GAM), is the file management system built into Management Interface and used to support standard file management operations. |
How it fits together
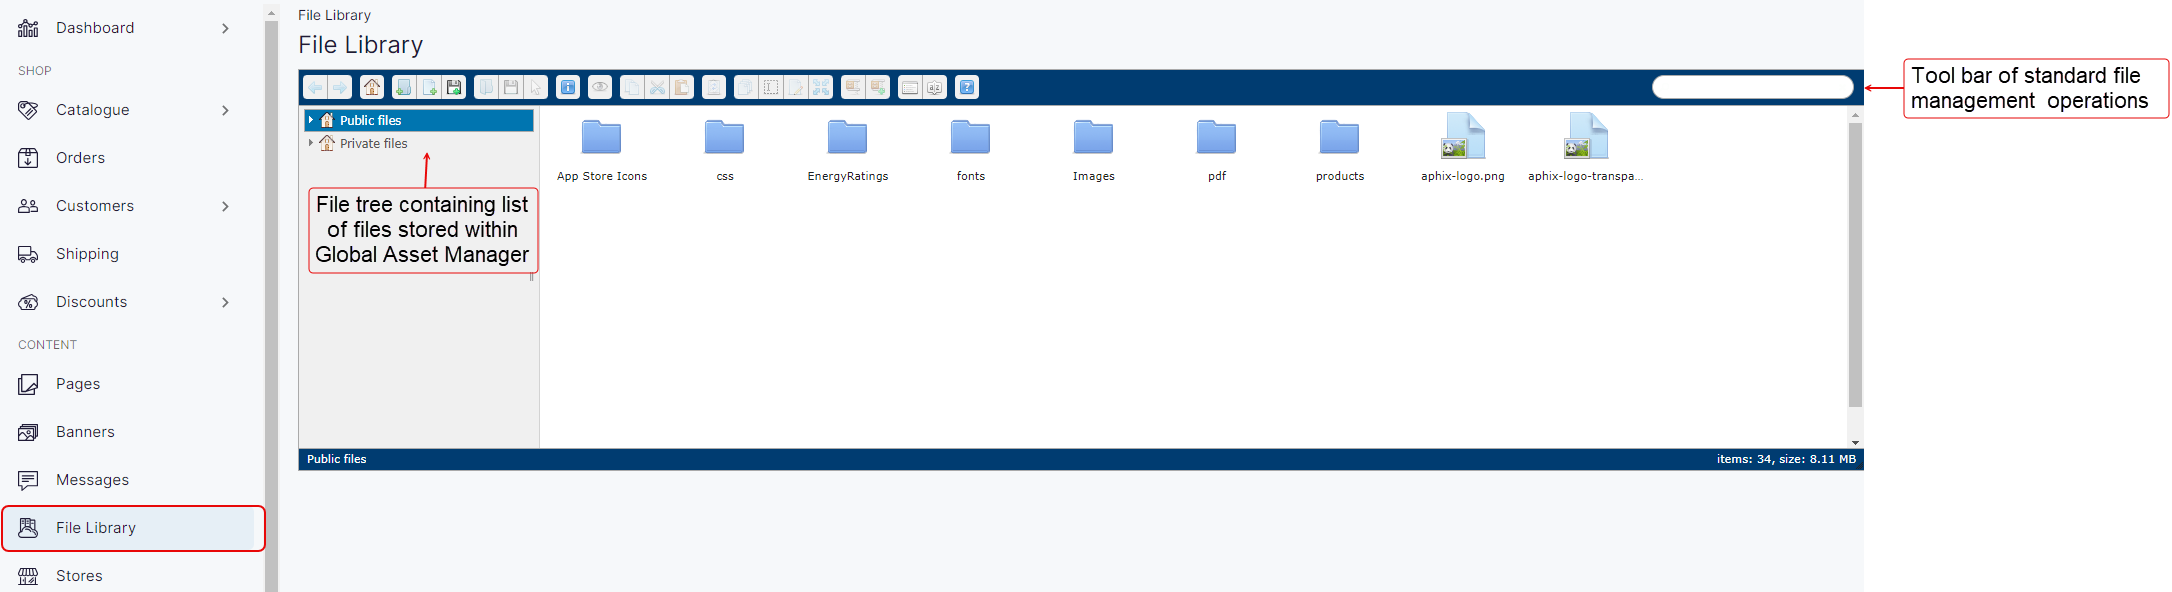
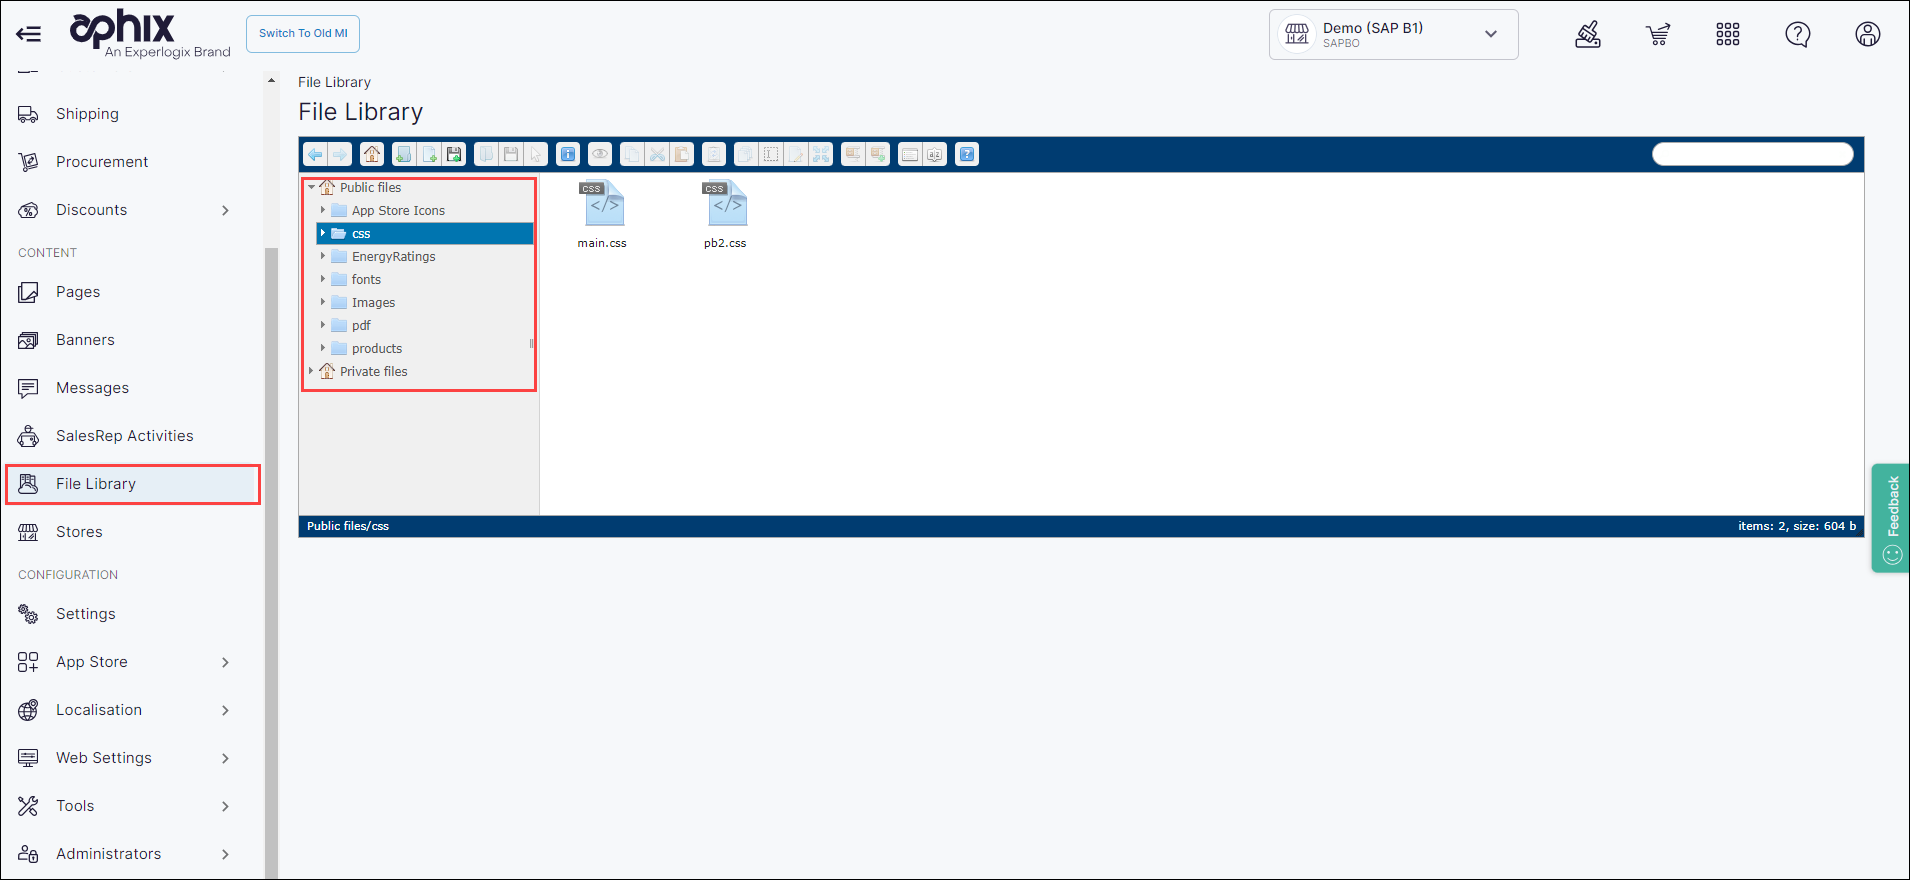
Global Asset Manager (GAM) is supported by software called elFinder. elFinder is software that supports standard file management operations through an intuitive graphical user interface. Files are stored in Experlogix Digital Commerce Platform's cloud-hosted environment, meaning that the files are secure and accessible when and where you need them. As standard, Global Asset Manager contains a file tree with two folders to which you can add your files. The two folders are named Public Files and Private Files.
Public files contain resources such as images, PDFs, documents that are used when creating your WebShop using Pages.
Simply upload the files into the Public Files folder and link them to the page you are creating.
Manually manage your product PDFs, and other content that you use on your product and category pages.
Display specific energy rating labels on relevant electrical products in your WebShop.
Use our Shared Documents feature to manage the relationship between products and associated documents.
Private files contain resources such as product images, product specifications, pricing and other documents which are shared regularly and automatically via a FTP connection. Typically, this is used by B2C WebShops to ensure that recent pricing and product details are shared with your customers.
Step by step
Step 1: Log into Management Interface
Log into Management Interface using your username and password. This opens the dashboard of your Management Interface.
Step 2: Open Global Asset Manager
Click File Library. This opens the File Manager.
Action: Manage your files
Use standard file management operations to move, rename, copy, delete files and folders as required by your specific business use case.

Icon name | Description | |
|---|---|---|
| 1 | Back / forward | Navigate back and forward through your file directories |
| 2 | New folder | Create and name a new folder in the current directory |
| 3 | New file | Create a new text file in the current directory |
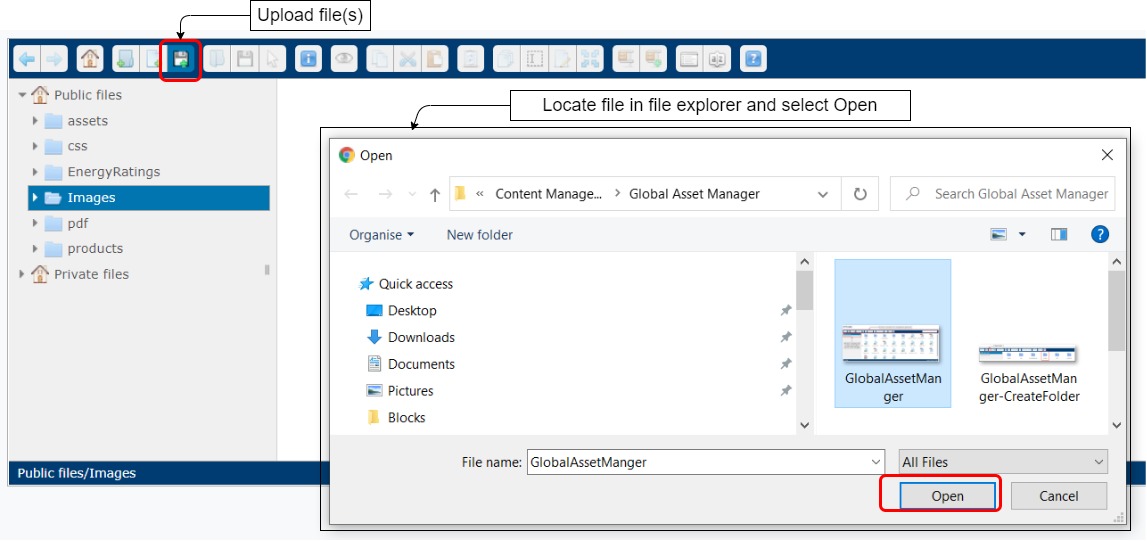
| 4 | Upload files | Open a file explorer so you can locate and select files to upload |
| 5 | Open | Open a selected file in a new window, or move to the selected folder |
| 6 | Download | Download the selected file |
| 7 | Get more information | Open a dialog box with more information about the selected file |
| 8 | Preview | Opens the selected file in a new window so you can preview its contents |
| 9 | Copy | Copy the selected file to your clipboard |
| 10 | Cut | Copy the selected file to your dashboard; once copied, the selected file is deleted |
| 11 | Paste | Paste files that have been copied to your clipboard in the same or new folder |
| 12 | Delete | Delete the selected files and/or folders |
| 13 | Duplicate | Instantly make a copy of the selected files |
| 14 | Rename | Rename the selected file or folder |
| 15 | Edit | Opens the selected file in a new text editor where you can edit its contents |
| 16 | Resize or rotate | Rotate and resize your image files |
| 17 | Archive | Zip and unzip into the folder the archived (zipped) file is in. Supported formats are ZIP, GZIP, XZIP, TAR and XZ. |
| 18 | ||
| 19 | List/icon view | Select how you wish to view your list of files and folders; either as a list or as a set of icons |
| 20 | Sort | Select how you would like to display your files and folders; you can sort your files and folders by name, format, date and size. |
| 21 | About this software | Click to find out more information about elFinder, the open-source software that we use to support standard file operations or to find a list of keyboard shortcuts that you can use. |
| 22 | Search | Search for specific files |
Press CTRL and use your mouse to select multiple files.
Right click on a file or folder to see what operations are available to you.
Example 1: Display more images on your product page
To add additional images to an existing product page:
Create a folder called Images under Public Files.

Upload the images you wish to display into the Images folder.
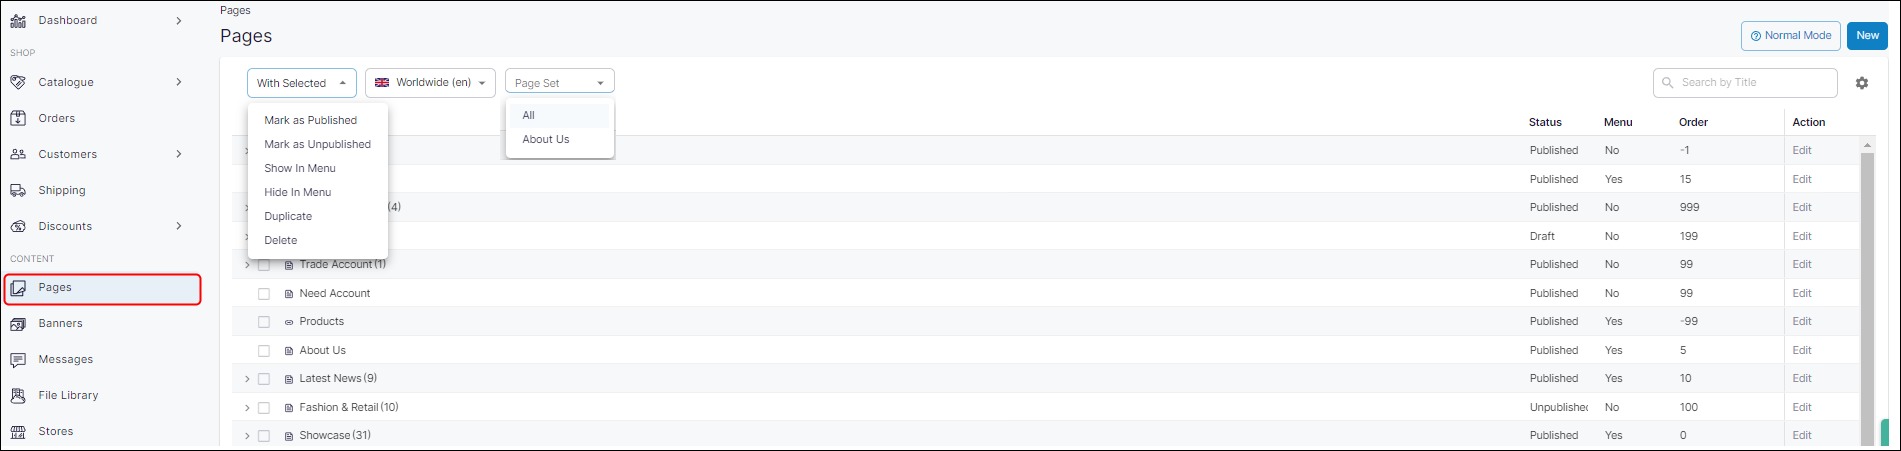
Click Pages. This opens the Content Management System.
Locate the product you wish to add images to. In the Product Content Editor, select the small folder icon. This opens Global Asset Manager.
Insert the image by navigating to where you have stored the images in the file system.
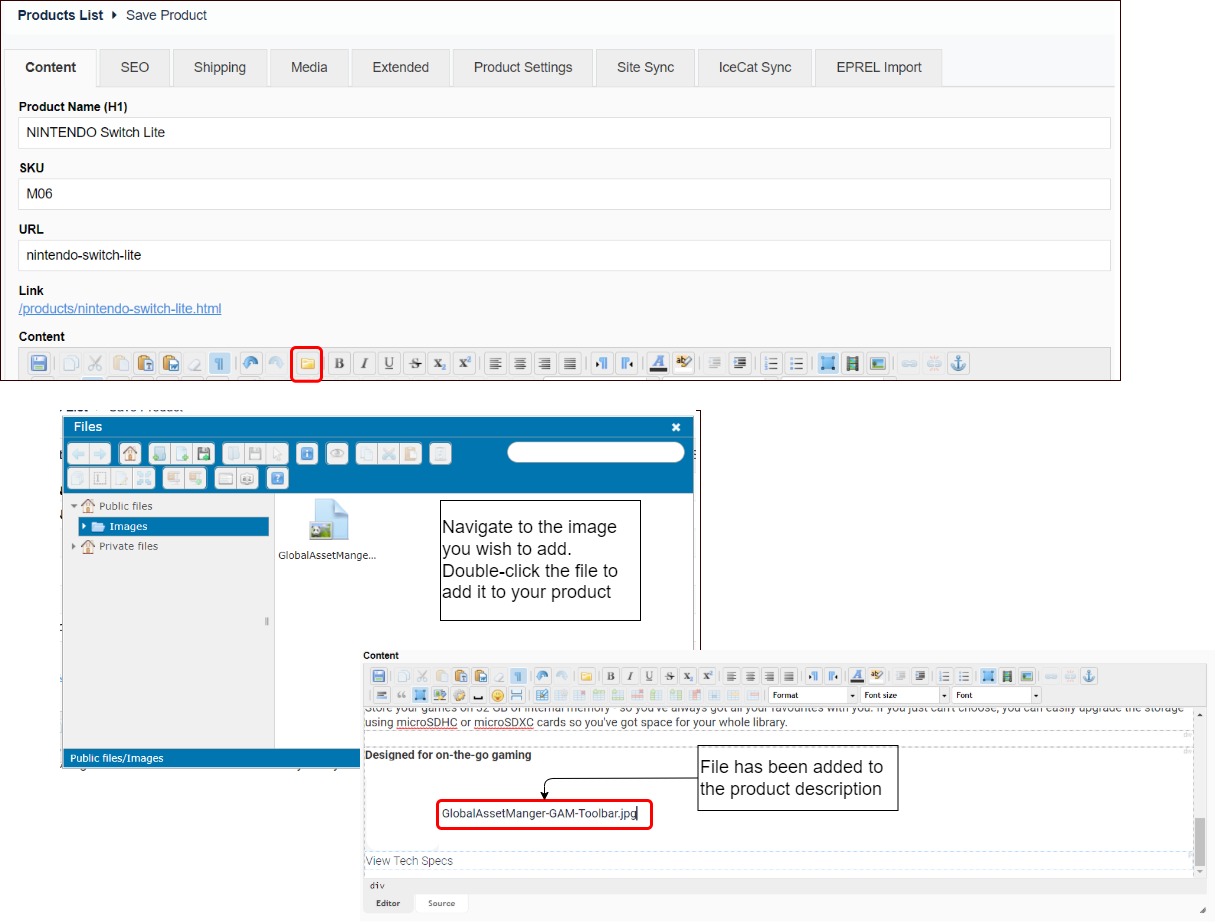
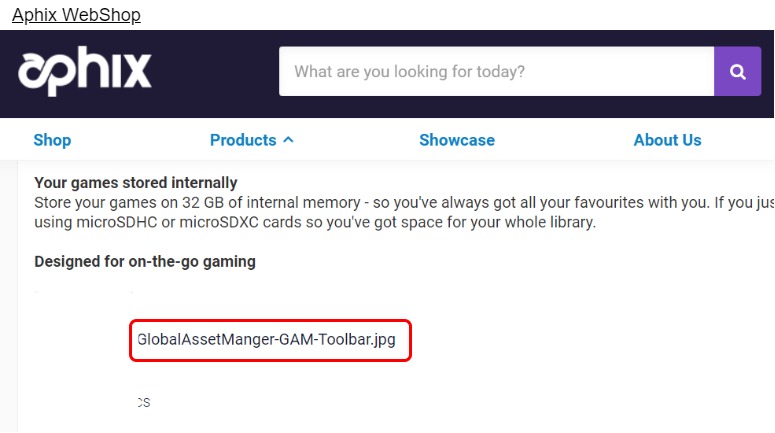
Click Save. This saves the product description with the new image(s). The newly uploaded images can be viewed immediately on your WebShop.
Remember to Click Save once you make changes to your product. The changes are made immediately to your WebShop.