Using custom reports in Management Interface
Purpose and scope
Only available when WebShop is integrated with SAP Business One.
As a merchant using SAP Business One, you may wish to extract information from your ERP to share with your customers on WebShop or SalesRep. The custom report feature allows you to create, edit and delete custom reports that contain either customer-specific or product-specific information that you require. You manage these reports in Management Interface. Custom reports can be displayed on WebShop and/or SalesRep.
The purpose of this feature guide is to:
show you how to create, edit and delete custom reports in Management Interface
demonstrate what your customers see in WebShop once you have saved the report.
Read here to understand what your customers see if you have deployed the custom report in SalesRep.
Key points
We support two custom report types; reports containing customer-specific data and product-specific data.
This feature requires you to
understand how to create database (SQL) queries so you can extract the desired data you wish to display in WebShop, and
understand where data is stored in SAP Business One in order to create database queries.
Introducing terms and concepts used in this article
Term | Definition |
|---|---|
Customer | a client of the merchant. |
Merchant | a company who uses Experlogix Digital Commerce Platform. |
Step by step
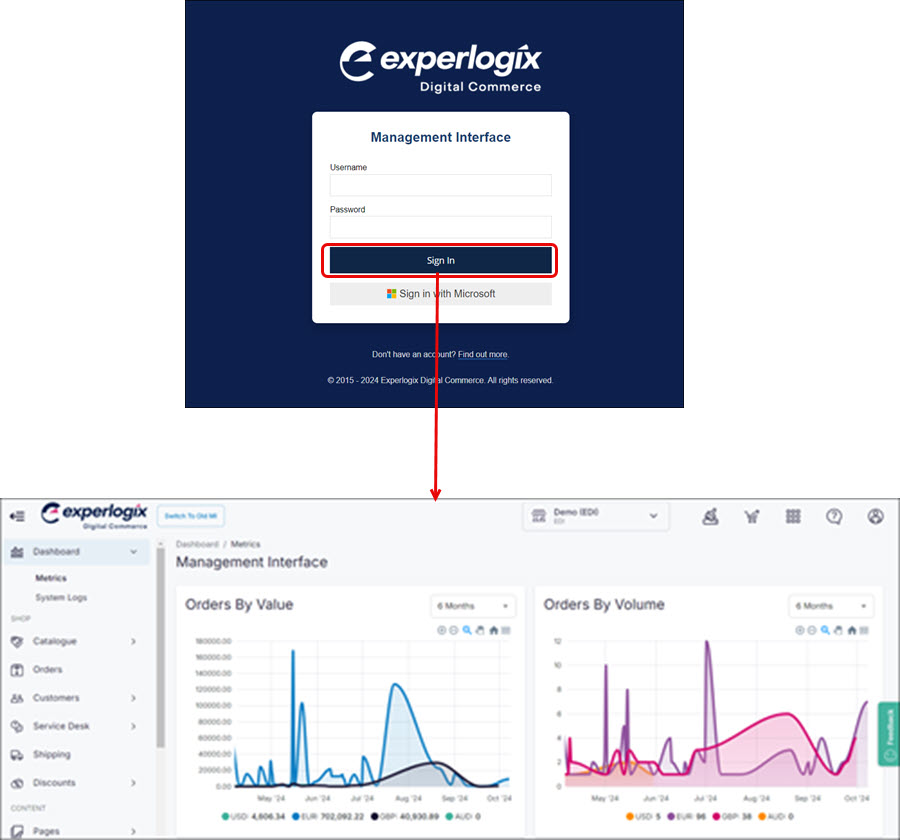
Step 1: Log into Management Interface
Log into Management Interface using your username and password. This opens the dashboard of your Management Interface.
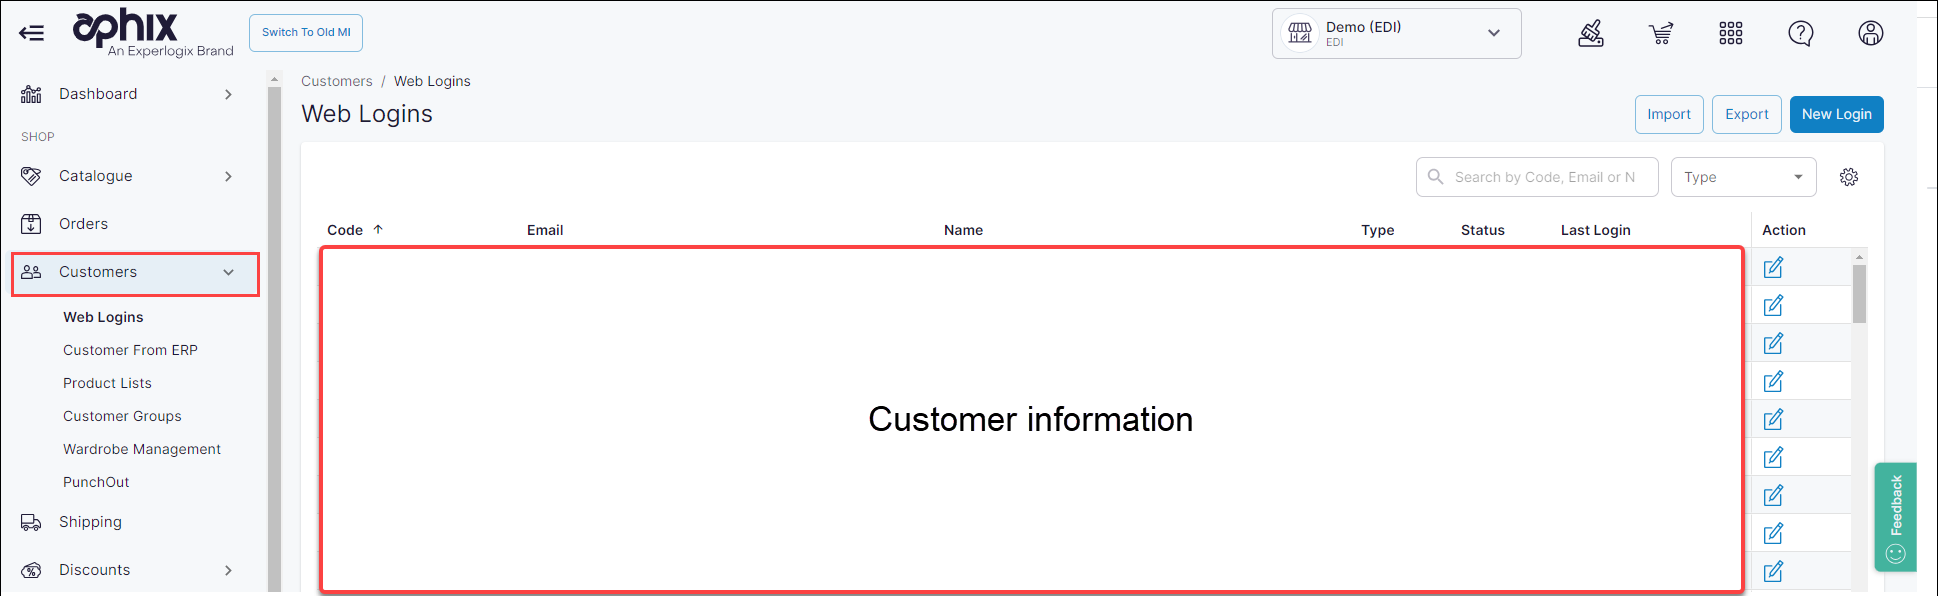
Step 2: Open Customers
Click Customers on the left hand menu. By default, a list of your Web Customers are displayed in the main content body.
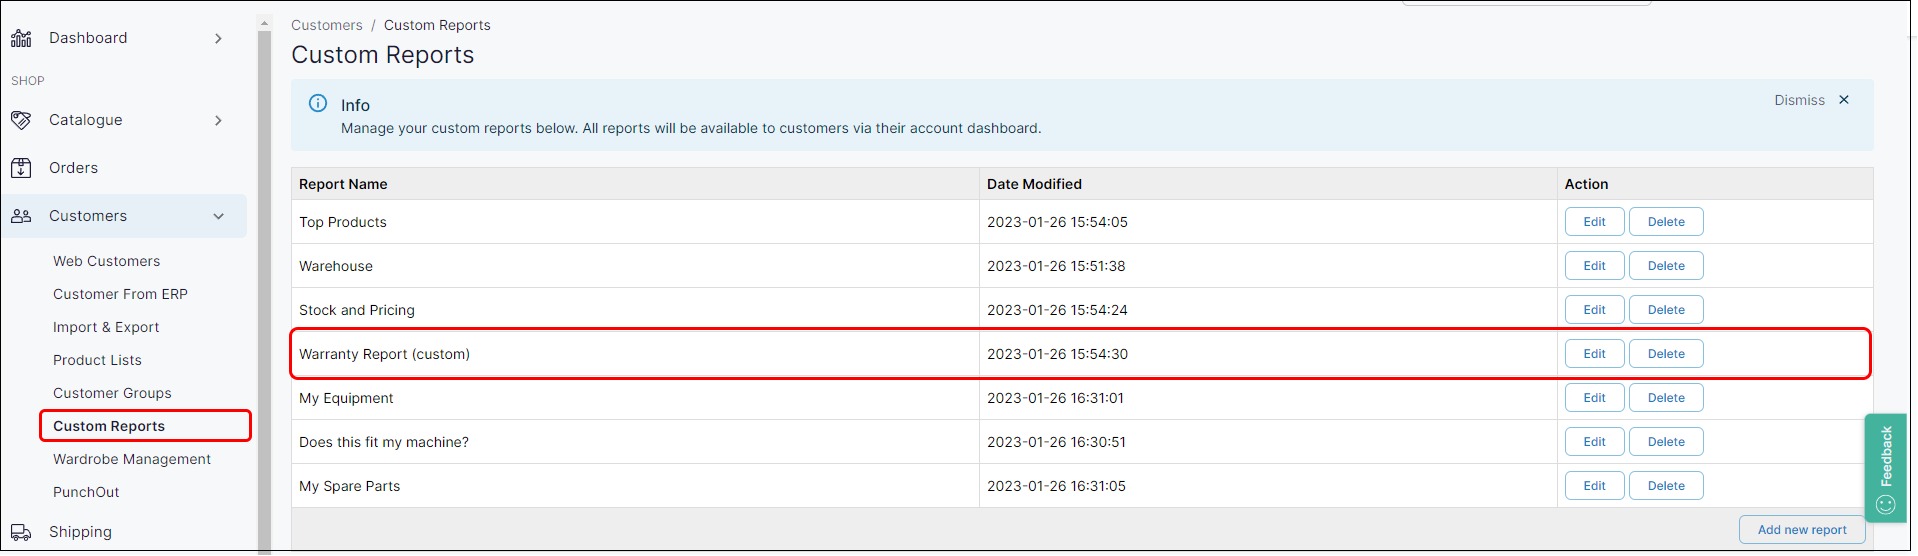
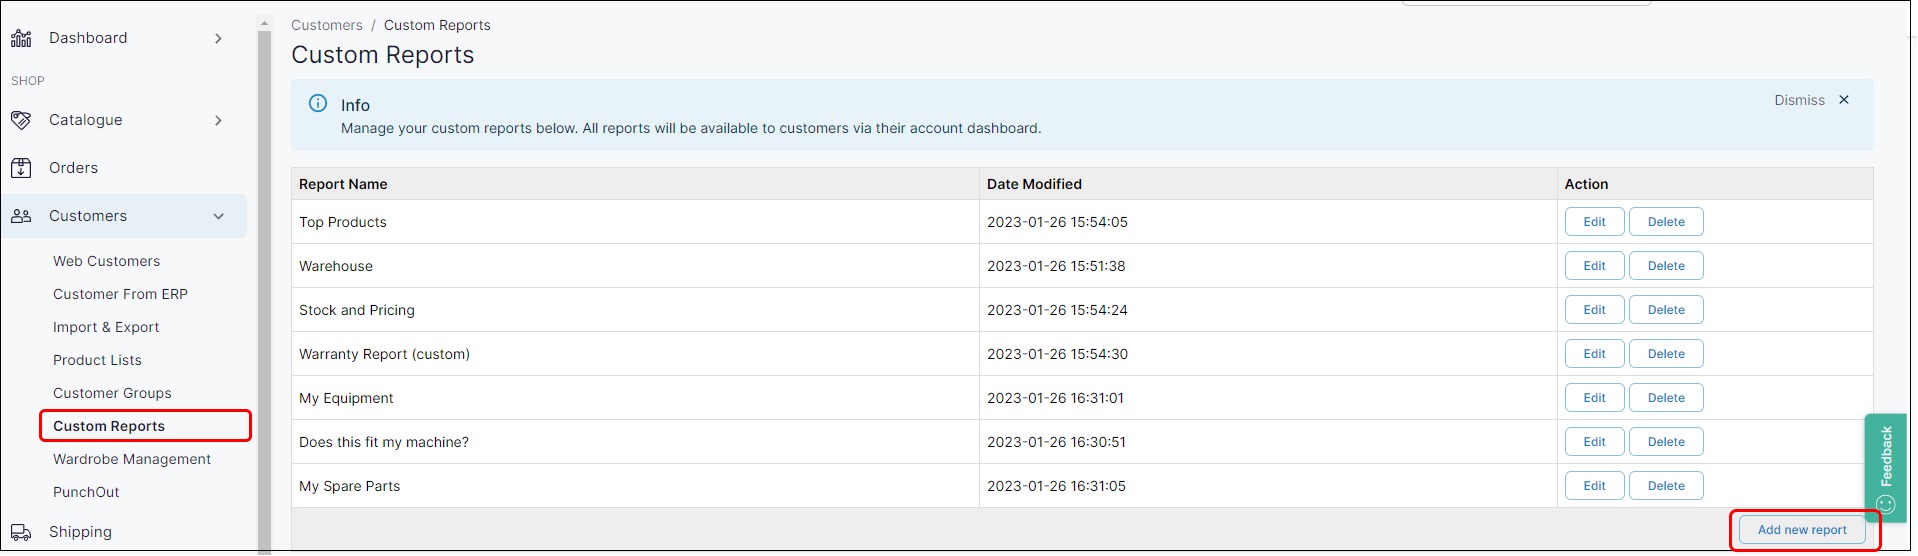
Step 3: Open Custom Reports
Click Custom Reports. This opens a list of existing custom reports.
Action 1: Create a custom report
To create a new custom report, click Add New Report.
This opens the Edit Report page. Then:
Specify the Report Name,
Write the SQL query to extract the data you require, and
Define where and how you want the report viewed by your customers.
Key points
We support the following SQL methods: Select, Call, Exec.
You can only apply a customer group restriction to WebShop.
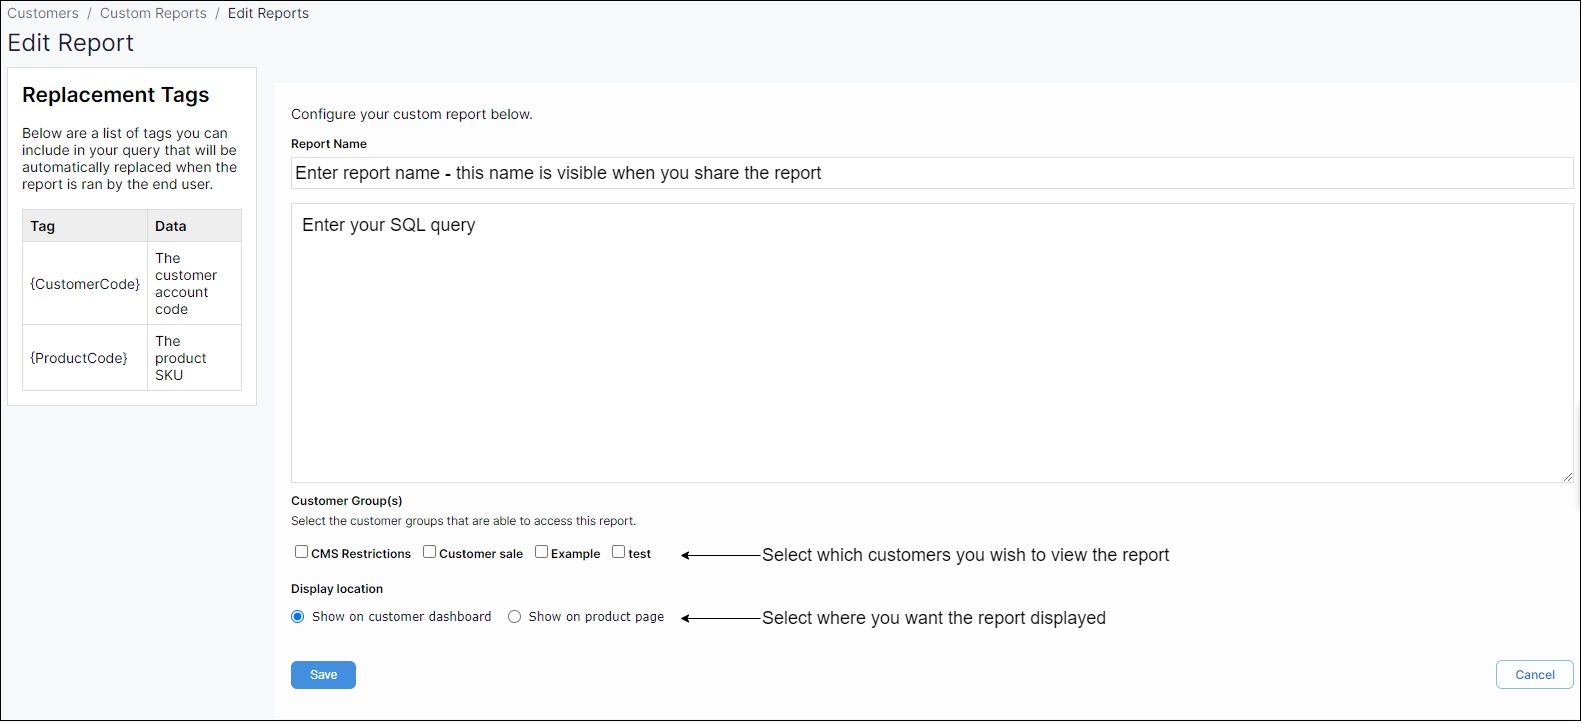
Click Save to share the custom report with your customers. The custom report is visible immediately to your customers.
Recommendation
We recommend that you verify that the correct data is returned by using our Test Report feature at the bottom of the Edit Report screen. Click Run after entering the SQL query; this returns data based on the SQL query. It is not visible to customers.

Action 2: Manage a custom report
To edit an existing report, click Edit to the right of the report's name on the custom reports page. This opens the Edit Reports page, where you can edit, test and save your changes.

To delete an existing report, click Delete to the right of the report's name. This opens a confirmation message, since this action cannot be undone. This deletes the custom report immediately.

What do my customers see after I have set up a custom report?
Example
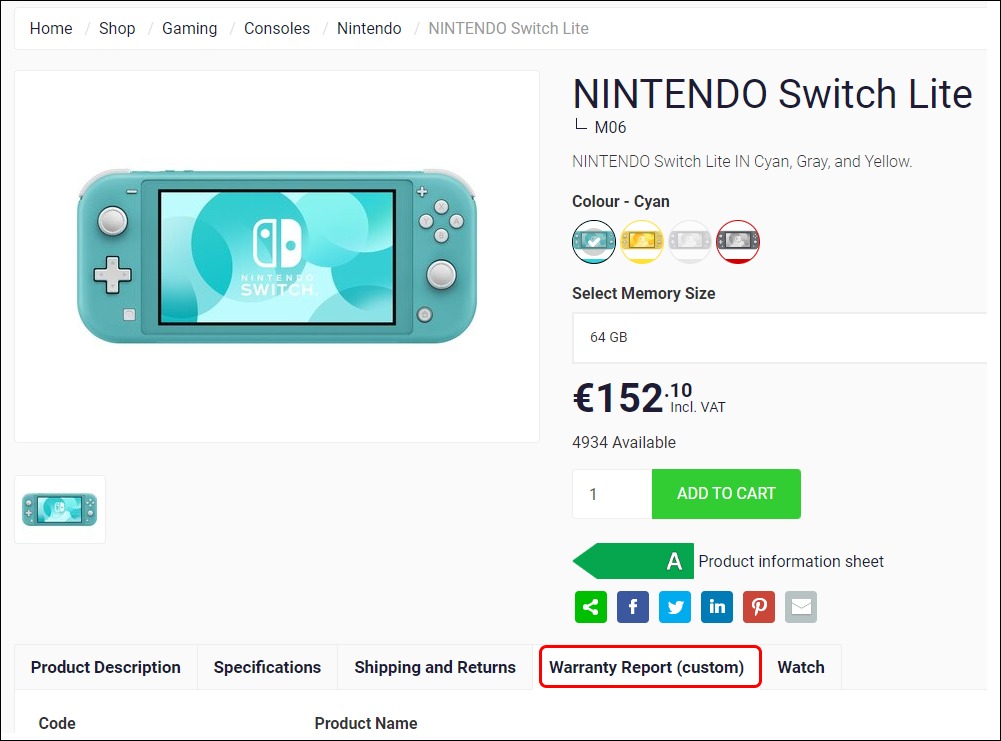
A custom report called Warranty Report (custom) has been created in Management Interface for display on the product page. This is configured in Management Interface, and can be seen in the list of custom reports.
The custom report is displayed as a tab under the product information, which is where your customer can view the data.