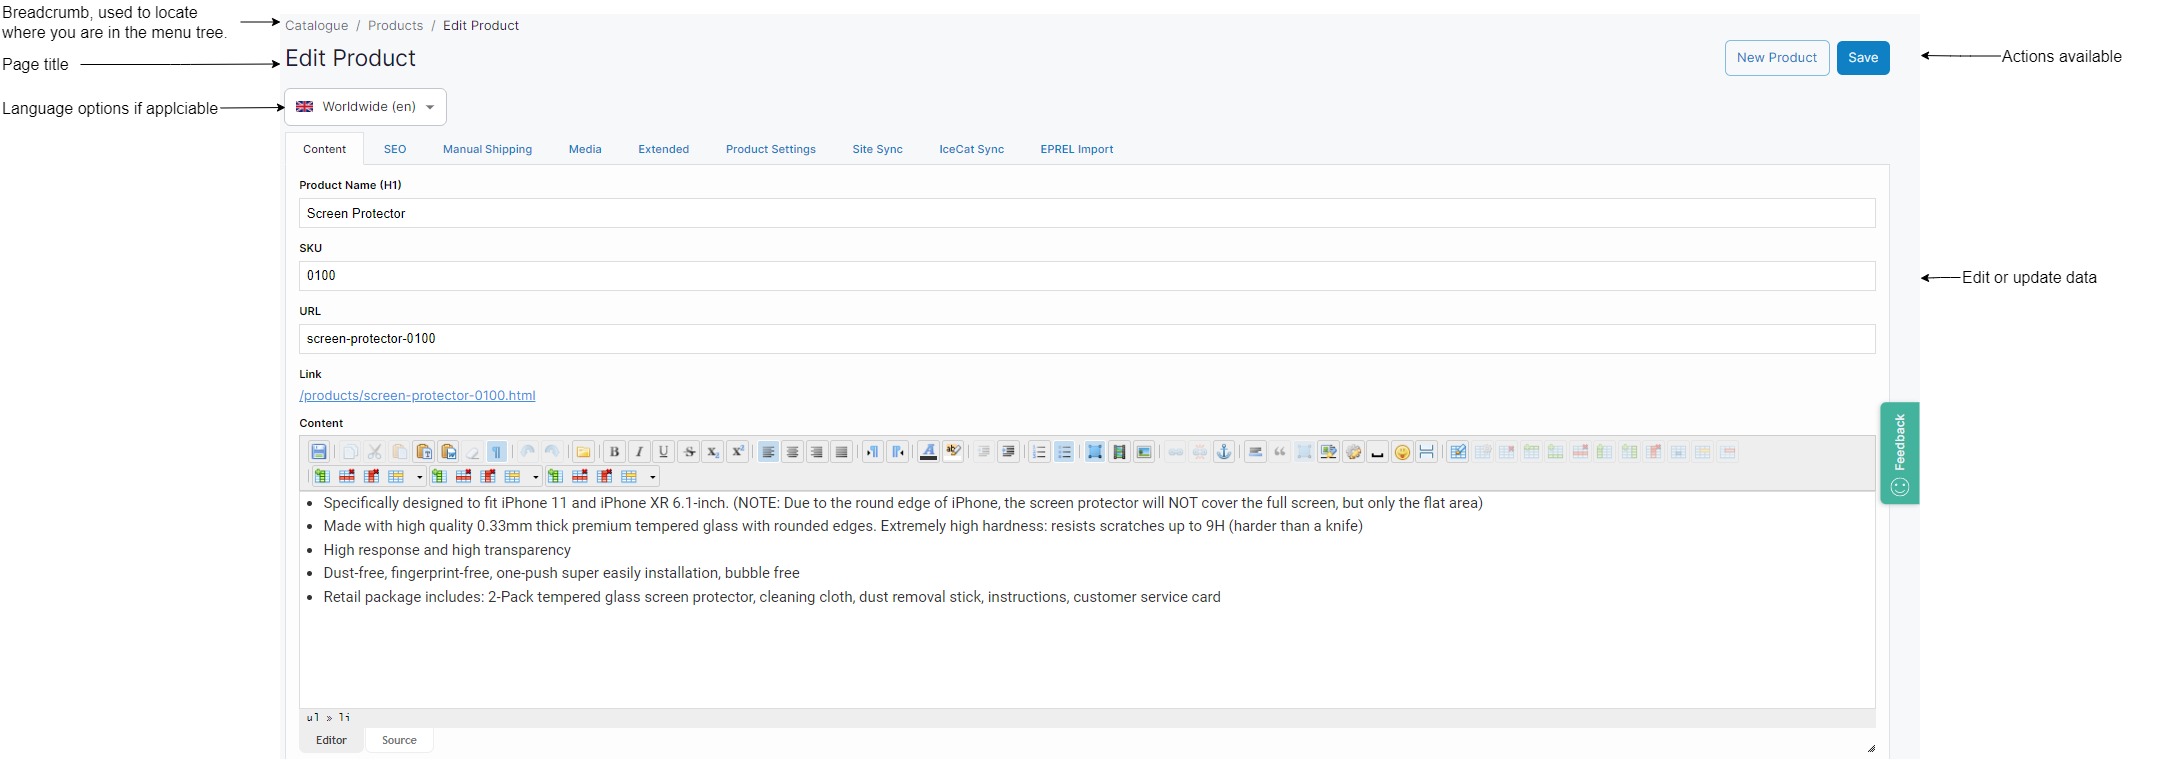
General screen layout
Aphix Management Interface has been designed to be functional and intuitive.
You can configure options in all our products (Aphix WebShop, Aphix PocketShop and Aphix SalesRep) in Aphix Management Interface.
How it fits together
Each screen within Aphix Managment Interface has a similar layout, as shown:
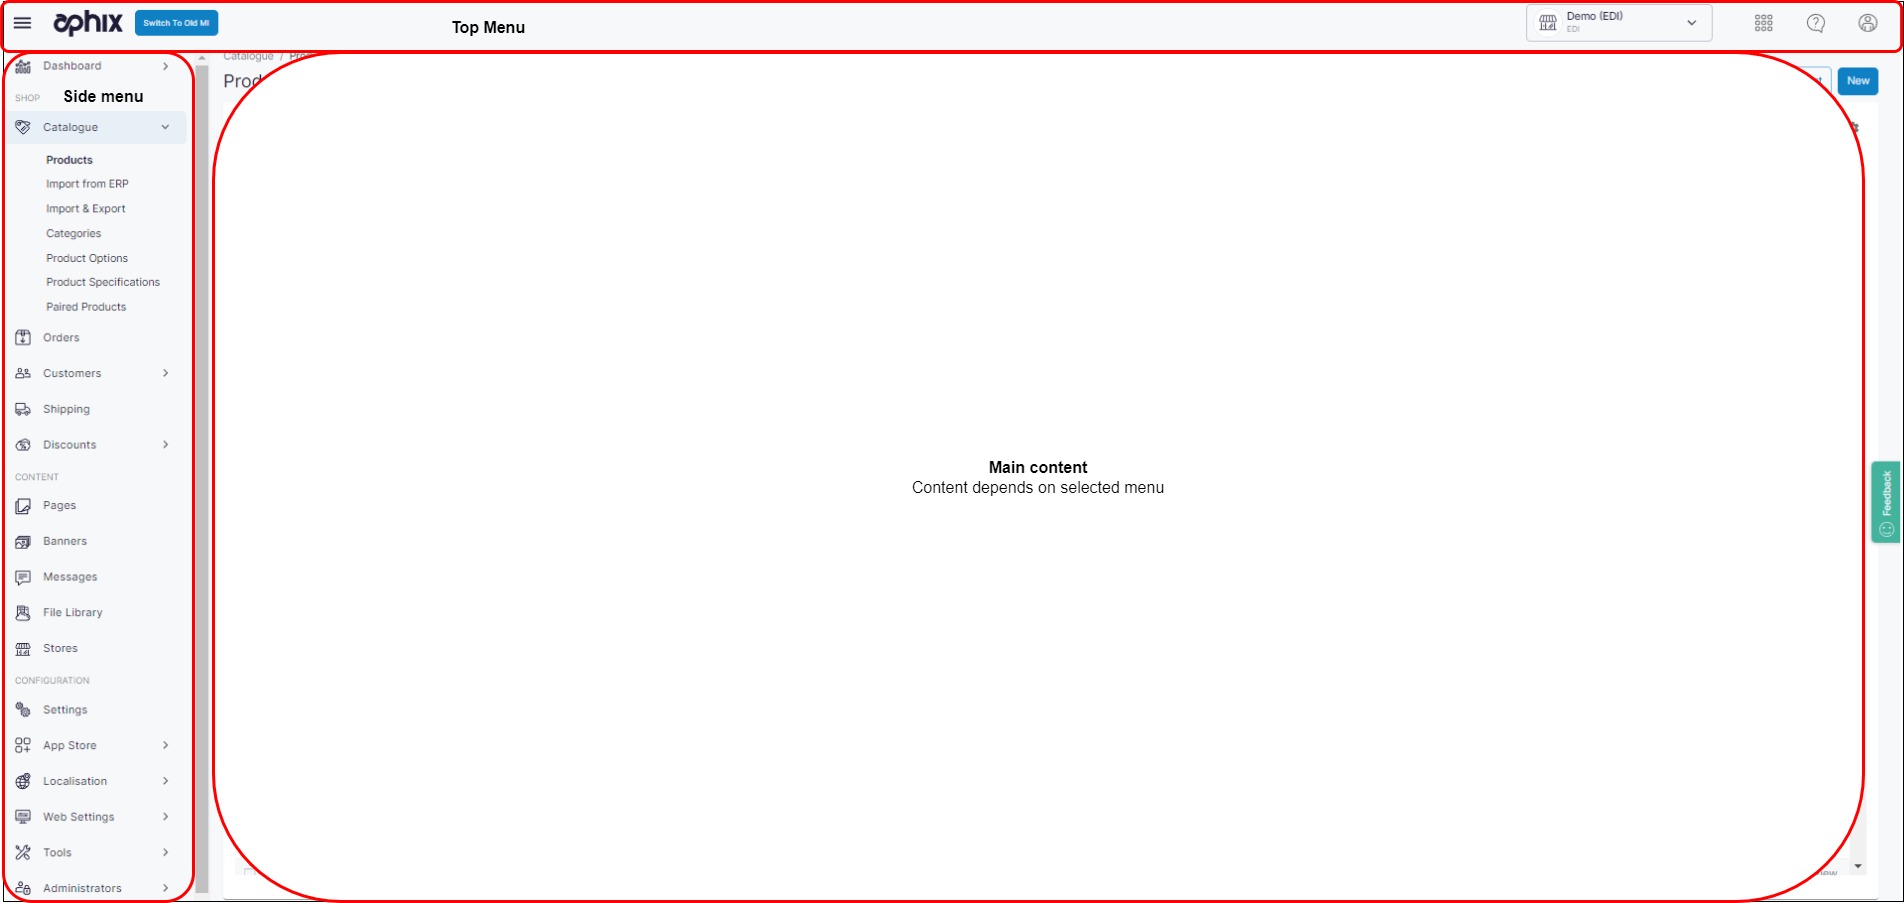
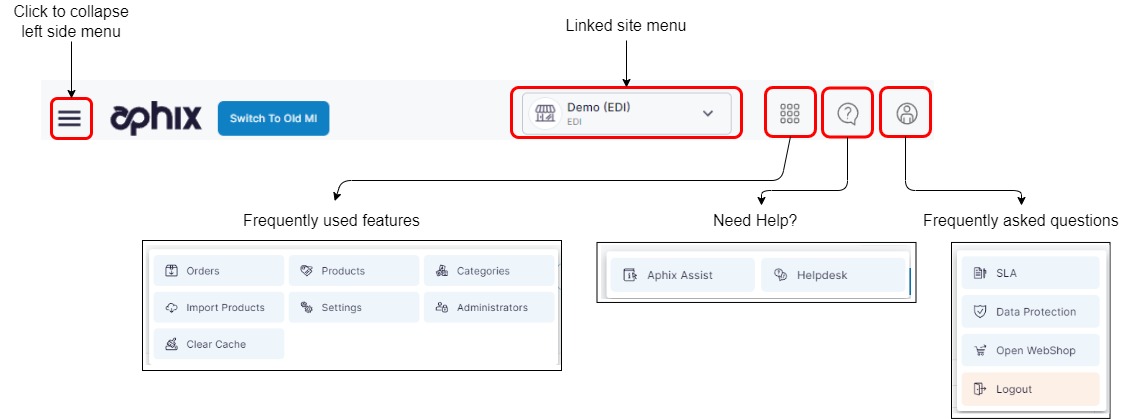
Top menu
The Top menu gives you direct access to many key product features, our content portal (Aphix Assist) and support helpdesk, and links to frequently asked questions about our SLA and data protection policy. You can log in and logout through this menu also. The linked site menu is visible if you have a multi-site implemented.
Side menu
The side menu provides links to the many features that you set up and manage within Aphix Management Interface, under the following headings:
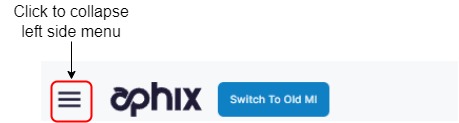
Actions
To collapse the side menu, and make the main content area bigger, click on the hamburger icon at the top left of your screen.
Main content area
The main content area displays information associated with your selected option in a standard way. Two page types are available:
Listing page → where you can view data, and perform certain actions on one or many items listed. The image highlights the key elements of this page type:

Form page → where you can view, edit and update data. The image highlights the key elements of this page type:
Actions available on all screens
Available actions are dependent on which feature you are using / screen you have navigated to.
Use action buttons to perform tasks. These are found on the top right of each screen.
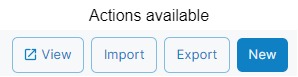
Different actions are displayed depending on what screen you are on. Actions button performs one of these actions:
Opens a form page populated with appropriate data. Example: Click New Product on Product Administration. The new product form page is opened.
Displays a side panel, into which you enter text or data. Example: Click New on Shipping. A side panel is displayed which allows you to create a new Shipping Service.
Exports data automatically exports the displayed data into a spreadsheet that is downloaded onto your computer. Example: Click Export on Product Administration. Spreadsheet of product data is downloaded onto your computer.
Displays a dropdown list of available options. Example: Click View on Product Administration to display paired products, product specifications or product options.

Actions available on listing pages
Configure the look and feel of your page:
Drag and drop columns so that they are displayed in the order you wish to see them.
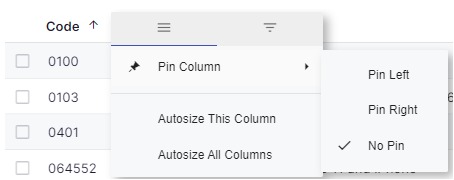
Use the hamburger menu to the right of each column to ensure that it is always displayed in a particular location.
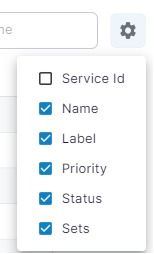
Use the Settings cog to make selected columns visible or invisible.
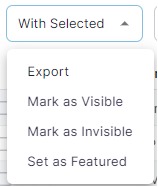
Where applicable, perform a listed action on a selected set of items.
Where applicable, filter products by status, product type, and whether the product is featured or special.

Actions available on form pages
Actions vary depending on which form you have navigated to. Typically, you are presented with a WYSIWYG (What You See Is What You Get) editor, into which you can enter product, shipping, catalogue or stores information. Search for the feature guide for more detailed description on how to configure and manage each feature.