Can I change the style sheet of my WebShop template?
Purpose
To explain how to change the style sheet of your WebShop template.
Recommendation
Please note that we do not offer support for any issues caused by adding custom CSS.
We recommend that you only extend your style sheets if you are experienced using CSS. Adding custom CSS can affect your WebShop in unexpected ways.
Introducing terms and concepts used in this article
Term | Definition |
|---|---|
Cascading style sheets | (CSS), describes how HTML elements are displayed on screen and can control the layout of multiple webpages at once. |
More information
Each WebShop is based on a theme, which defines the layout and look and feel of different elements displayed on each screen. The theme consists of a number of CSS files, which define what each screen looks like. Two CSS file types exist:
Core CSS files, which you can never edit
Optional CSS file (called main.css), which you can add to your WebShop implementation to extend the core look and feel of your WebShop
When you inject optional CSS into your WebShop, they override the core default CSS. This means that you can return to the default WebShop template by deleting the optional CSS files you have injected.
Step by step
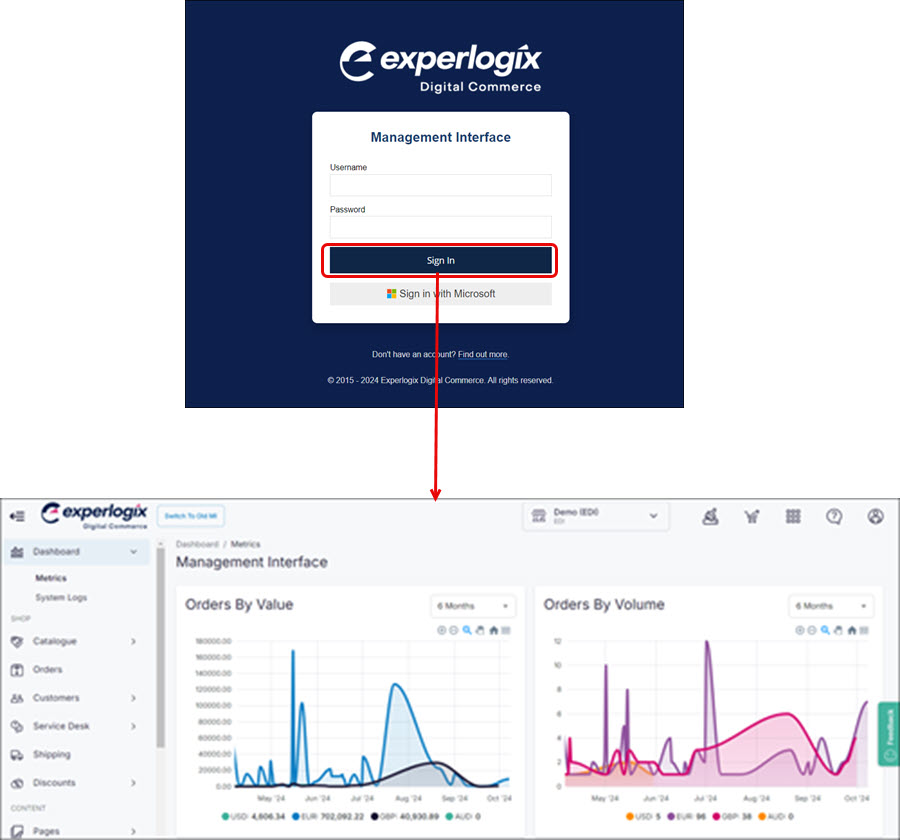
Step 1: Log into Management Interface
Log into Management Interface using your username and password. This opens the dashboard of your Management Interface.
Step 2: Open File Manager
Click File Library. This opens the file manager.
Quick recap
The File Manager, which may also be referred to as Global Asset Manager or elFinder, is software that supports standard file management operations through an intuitive graphical user interface. Files are stored in our cloud-hosted environment, meaning that the files are secure and accessible when and where you need them.
As standard, the file manager contains a file tree with two folders:
Public files - contain resources that are visible to your customers on your WebShop, such as images, PDFs and style changes that you may have injected into your WebShop.
Private files - contains resources such as product images, product specifications, pricing and other documents which are shared regularly and automatically via a FTP connection.
Read Managing files in Management Interfacefor more information.
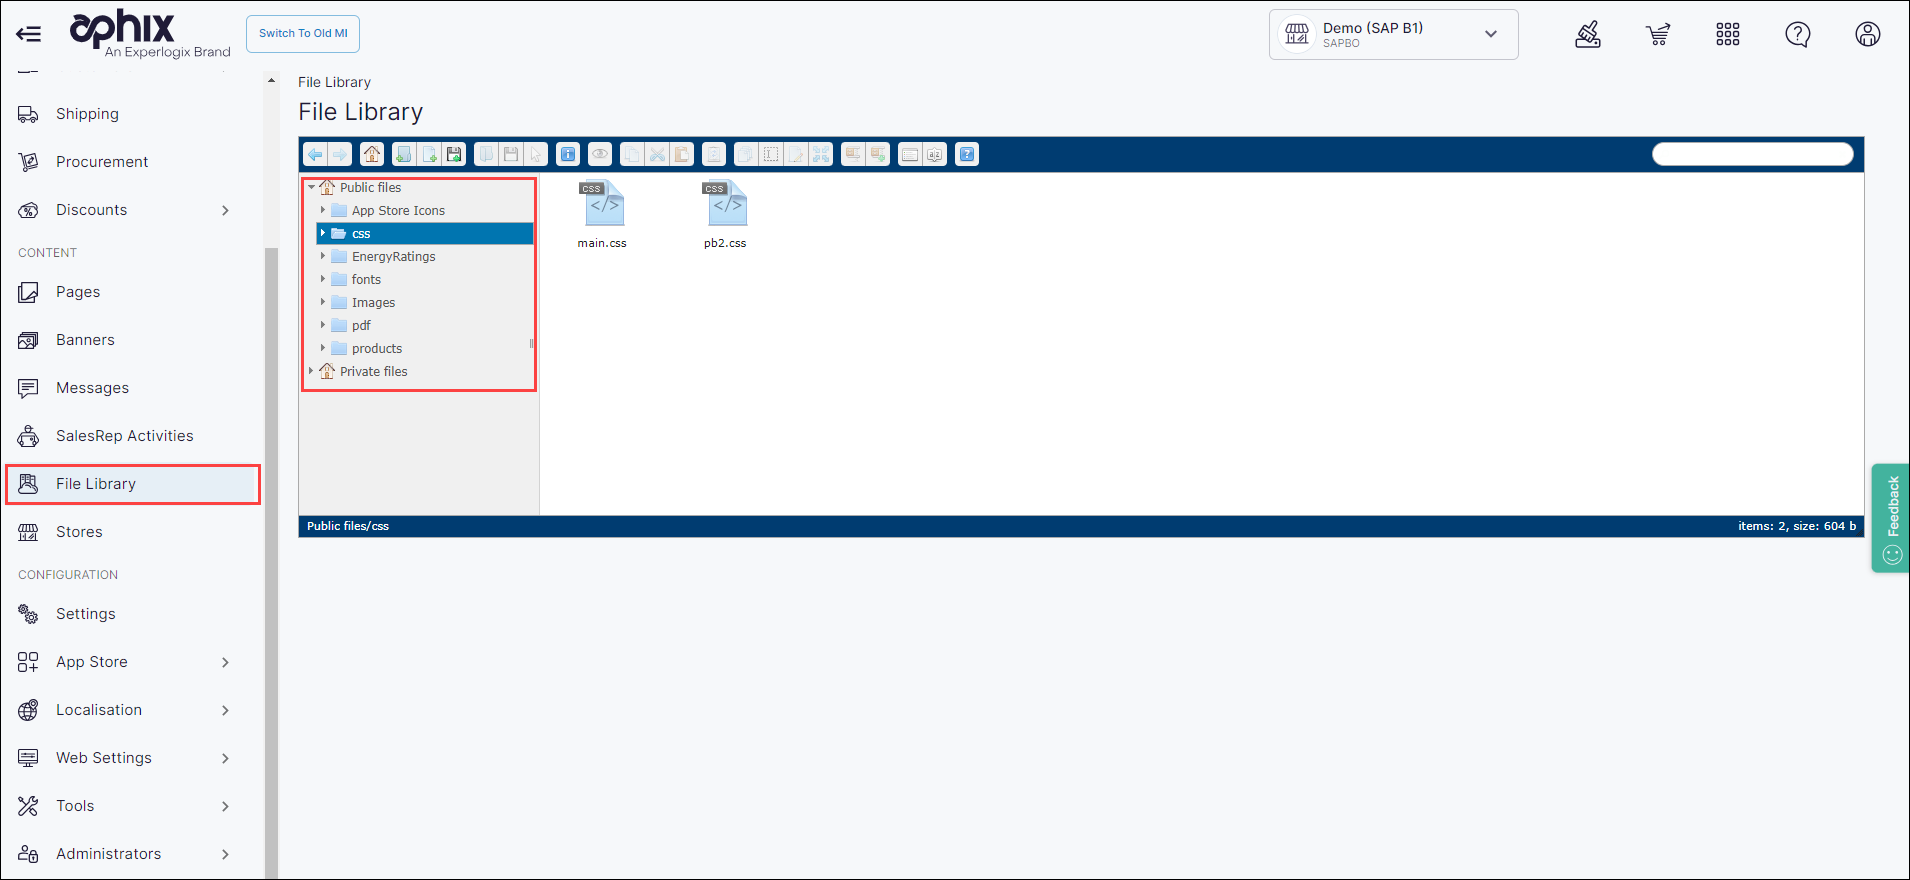
Step 3: Update your styles
Open the CSS folder under Public Files in the File Manager.
Open and edit main.css. The main.css file is the file that you edit to update the core look and feel of your WebShop.
Click Save. Changes are visible immediately on your WebShop.
Key points
It is assumed that you have advanced knowledge of how to inject CSS into a webpage.
When you inject optional CSS into your WebShop, they override the core default CSS files. This means that you can return to the default WebShop template by deleting the optional CSS files you have injected.
Updates to our platform may potentially conflict with your custom CSS. If conflicts occur, you are responsible for managing your style changes.
Key points
We do not offer support for any issues caused by adding custom CSS.
Updates to our platform could potentially conflict with your custom CSS. If conflicts occur, you are responsible for managing your style changes.
Adding custom CSS changes the look and feel of your WebShop. Changes are visible immediately.
To add custom CSS, open File Manager in Management Interface, locate main.css and make changes there.
You can always revert to the default WebShop theme by deleting what you have added to the main.css file.