How can I create a B2B or B2C customer accounts?
Purpose
To explain how to create web accounts for customers using the spreadsheet upload tool.
The purpose of this article is to demonstrate how a merchant who is logged into Management Interface may create a customer(s) account using a spreadsheet upload tool.
Introducing terms and concepts used in this article
Term | Definition |
|---|---|
Customer | a client of the merchant. |
Enterprise Resource Platform (ERP) | (ERP), a collection of your critical business operating systems, such as product, stock levels, financial, customers, suppliers and so on that run on the same platform. |
Web account | a WebShop account that provides you with WebShop functionality, such as viewing online order history, saving carts for future use or save delivery and billing addresses, which is not synchronized with your ERP. |
WebShop Instant Account | a WebShop account that is automatically created if it is possible to validate your customer's email address against their details in your ERP. |
More information
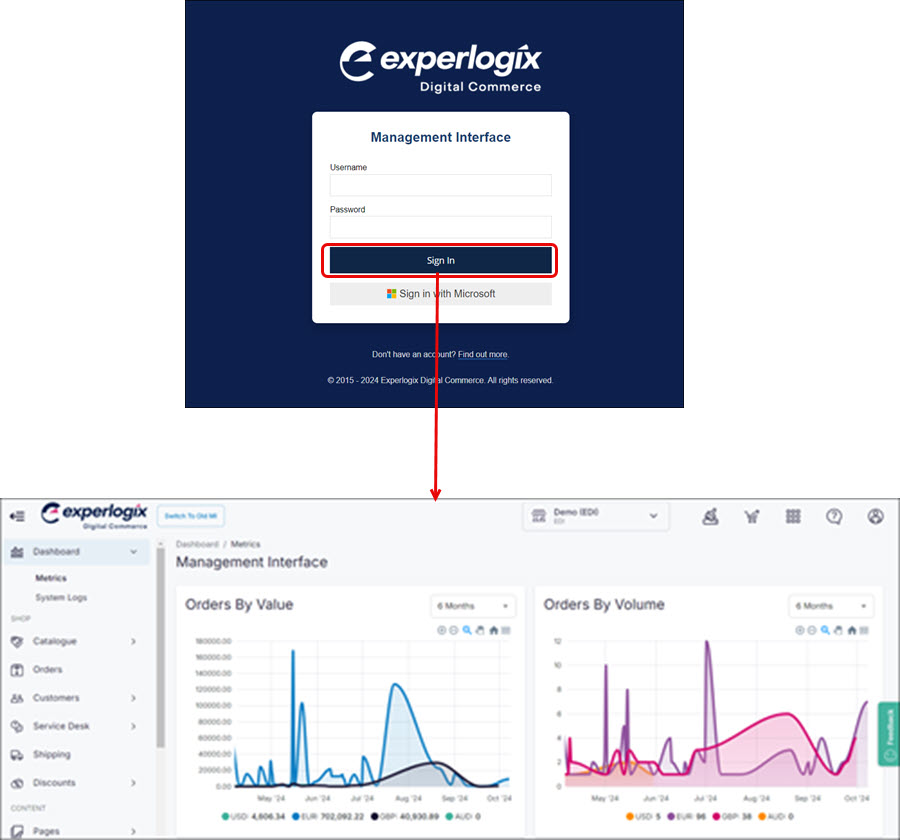
Step 1: Log into Management Interface
Log into Management Interface using your username and password. This opens the dashboard of your Management Interface.
Step 2: Open Web Customers
Click Customers on the left hand menu. By default, a list of your Web Customers are displayed in the main content body. The sub menu lists customer-related features:
Web Logins
Customer from ERP
Product Lists
Customer Groups
Custom Reports
Wardrobe Management, if purchased and enabled
PunchOut, if purchased and enabled
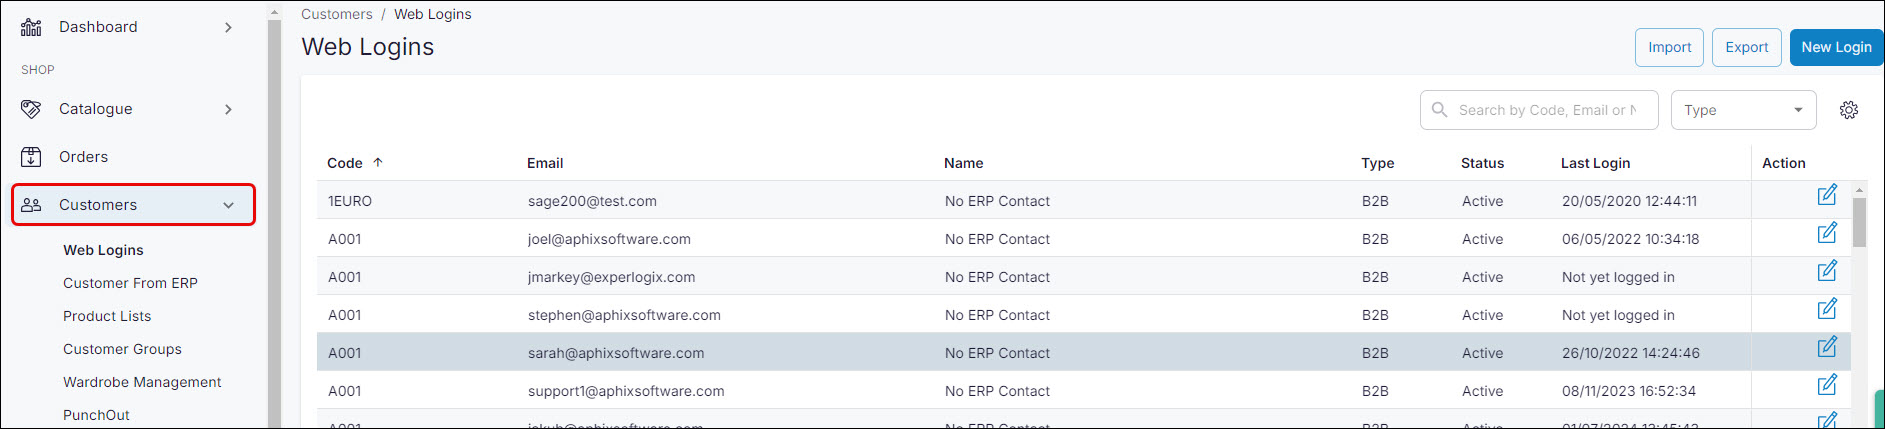
Select Web Logins. This opens Web Logins, which is a listing screen of all your existing web logins.
Action 1: Import B2B customer details
Extra information
To create B2B customer accounts, you have two options:
create using spreadsheet upload tool as described in this article
allow your B2B customer create their own account when they initially open your WebShop, as described in the article: How can my B2B customers create a WebShop Instant Account
Click Import, found in the top right of the screen. This opens a slider to the right of the screen.
Click Sample Spreadsheet. This downloads a sample spreadsheet, which has been formatted to illustrate what data you need to include.
Since B2B customer address information is stored in your ERP, you only need to supply an email address, an account code and a password for each customer.

Save the completed spreadsheet, select the file using the Choose File option.
Select B2B to indicate you are creating B2B customers.
Click Submit. This processes the chosen file, and creates customer accounts in WebShop.
Action 2: Import B2C customer details
Extra information
To create B2C customer accounts, you have two options:
create using spreadsheet upload tool as described in this article
allow your B2C customer create their own account when they open your WebShop following the online registration process.
Click Import, found in the top right of the screen. This opens a slider to the right of the screen.
Click Sample Spreadsheet. This downloads a sample spreadsheet, which has been formatted to illustrate what data you need to include.
For B2C customers, you need to complete each field in the spreadsheet for each customer.
Save the completed spreadsheet, select the file using the Choose File option.
Select B2C to indicate you are creating B2C customers.
Click Update Catalogue. This processes the chosen file, and creates customer accounts in WebShop.
Key points
You can create B2B or B2C customers using the spreadsheet upload tool quickly and efficiently.
Remember to specify the customer type correctly before you upload the spreadsheet. Failing to do this means that customer specific pricing may not be honoured correctly.
By default, all B2B customers have administrative privileges. This means that your customers can view account limits, order history and so on.
There are other ways of creating B2B customer accounts, which are detailed here.