How can I ensure that my indexes are migrated correctly when I move to my new WebShop?
Purpose
To explain how to migrate indexes used by search engines correctly when you are moving from one WebShop site to another.
Introducing terms and concepts used in this article
Term | Definition |
|---|---|
Search engine optimization | (SEO), a method of attracting more organic traffic to your website (in this case, WebShop) by making it appear higher on search engine results pages. |
Search engine result page | (SERP), a list of ranked results which are returned based on search terms you enter into a search engine. |
More information
As a quick recap, indexes are created by software (known as ‘crawlers’) which search the Internet looking for new content and sites. When found, this new content is indexed based on a number of factors, such as page language, usability of the page, the locale of the content and so on. When you enter a search term, the search engine matches your query with an index of matching pages. The results are ranked and displayed on a Search Engine Result Page (SERP). Challenges may arise when you move from one WebShop to another, since the indexes are now out of date since they refer to your old WebShop site.
Moving from one WebShop to another can be technically and administratively challenging. To make this process easier and more efficient, use our Redirect feature to update your URLs. Redirects are used to transfer your customers from one page to another when you are moving content between an older site and a new site. It is most useful when you have a high SEO ranking since using redirects respects the SEO ranking of the existing site even though the URL may have changed.
Your indexes are more likely to be migrated correctly if you redirect URLs in this way.
Step by step
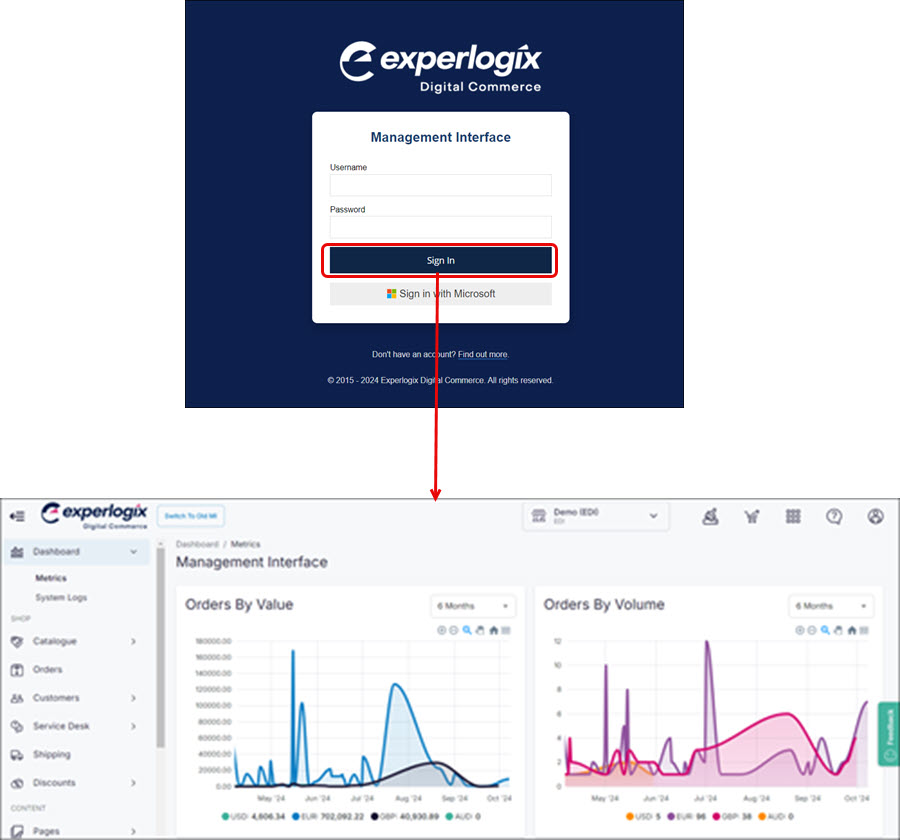
Step 1: Log into Management Interface
Log into Management Interface using your username and password. This opens the dashboard of your Management Interface.
Step 2: Open Redirects
Open Redirects under Web Settings on the left side menu.
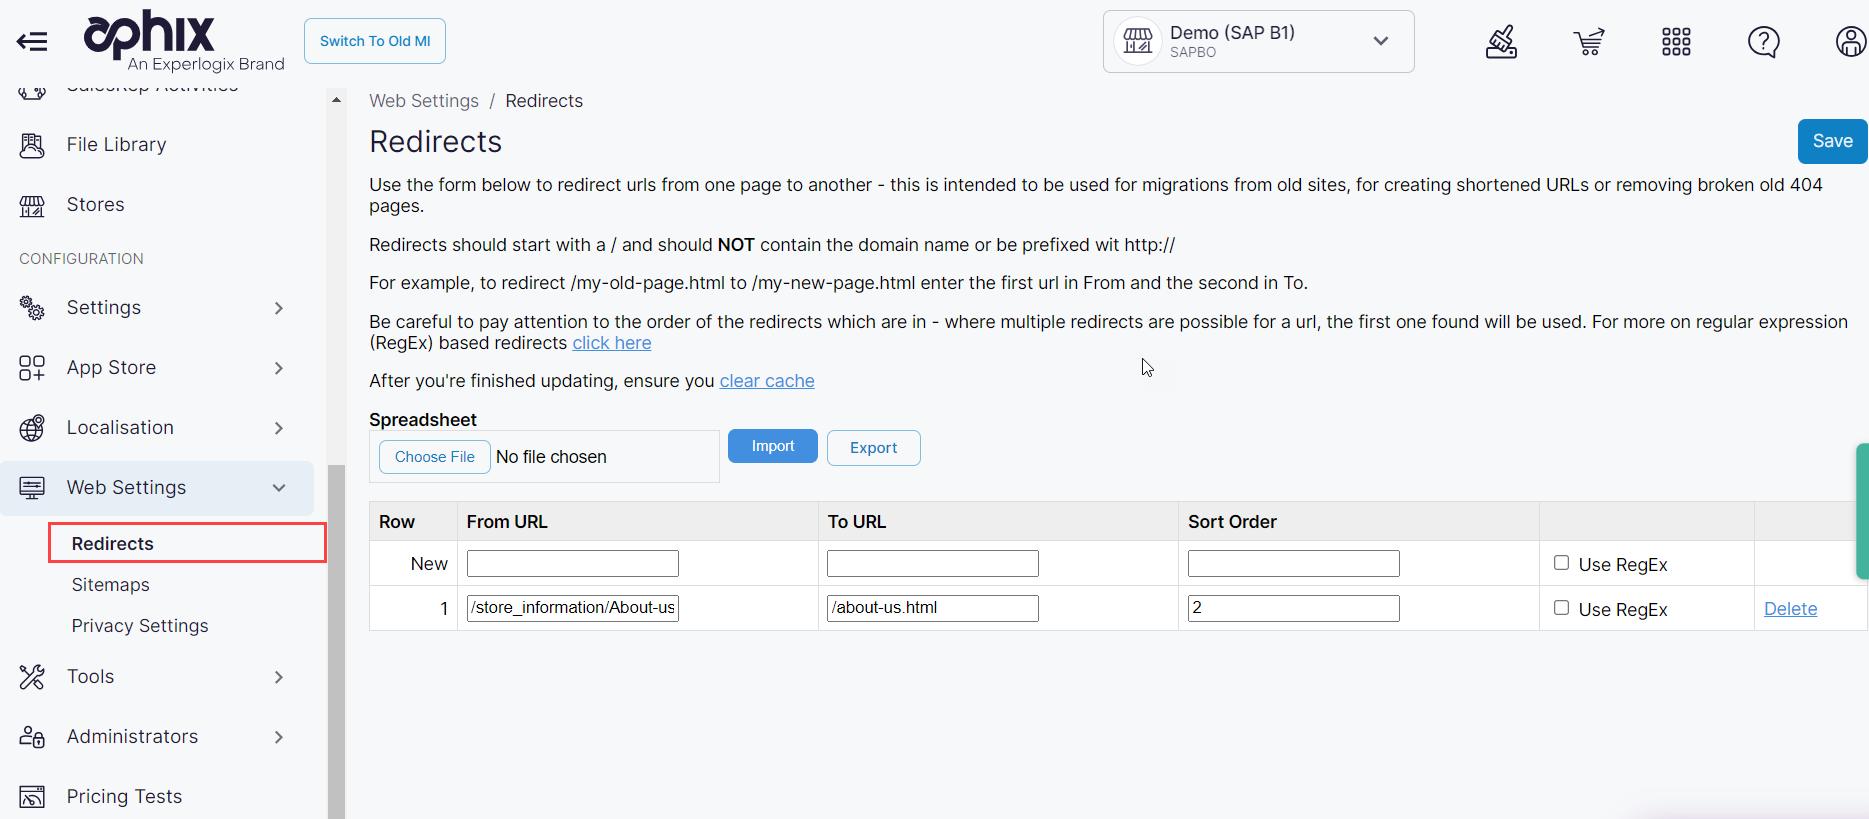
Step 3: Update URLs
Set up redirect rules, either using the on-screen tool or using the spreadsheet import feature, depending on the number of redirect rules that you have.
Recommendations
To create redirect rules, we recommend following one of these options:
Create a simple redirect for products if your old URLs are the same. For example, /some/site/content.aspx → /new-content.html
Create a regular expression redirect for similar URLs. For example, /content/(\w+).aspx → /$1.html
Create a regular expression rule to do a search, find a product or category and redirect to the new URL for the product or category. For example, to automatically redirect from /site/category/shoes/ to /categories.html?filter_set[]=5, use the following regular expression: /^(?!\/img)(?!\/q\/)(\/(\w+))+\/?(\.\w{5,})?(\??([^.]+)?)?$/ → /system/search/findCategoryRedirect.html?term=$0 . This searches for a category called “shoes“ and redirect your user to it.
Key points
Use our Redirects feature to map the URLs from your old WebShop to your new WebShop.
This ensures that your content can still be found by search engines, and that your users are directed to the correct WebShop